All you need to know about Adobe Stock motion graphics templates
What’s a good way to make your projects feel more professional and customized? Lizzie Peirce’s has got the answer, and it spells Premiere Pro motion graphic templates.

What’s a good way to make your projects feel more professional and customized? Lizzie Peirce has got the answer, and it spells Premiere Pro motion graphic templates. Give this blog post a read if you want to learn how to work smarter, not harder, with your content. In collaboration with Adobe Stock and Epidemic Sound.
I’m here today to help make your lives a bit easier when it comes to motion graphics in your projects. Motion graphic templates: I love to use them, but hate to make them. But what if I told you there was an easier way to add motion graphics to your videos, all in Premiere Pro?
Tips to make your content look more professional and customized
So, say you’ve just opened up your Premiere Pro workspace and imported some sample footage from Adobe Stock into your sequence, and now you’d like to spice up this footage with some motion graphics. Motion graphics are a great way to make your content feel more professional and customized. I run my own production company – if you also produce content for other businesses or want to make content creating your full-time job, adding motion graphics templates is a good way to be able to charge more for your productions.
A video containing motion graphics is going to be a lot more expensive than a video without motion graphics. This is because it takes a lot of time and skill to make these custom graphics all within Adobe After Effects. By using templates instead – all in Premiere Pro – is one way to cut that time and skill barrier in half. So, I’ve got to give it up for Adobe Stock for offering not only customizable but also licensable motion graphic templates that are readily accessible all within Premiere Pro.

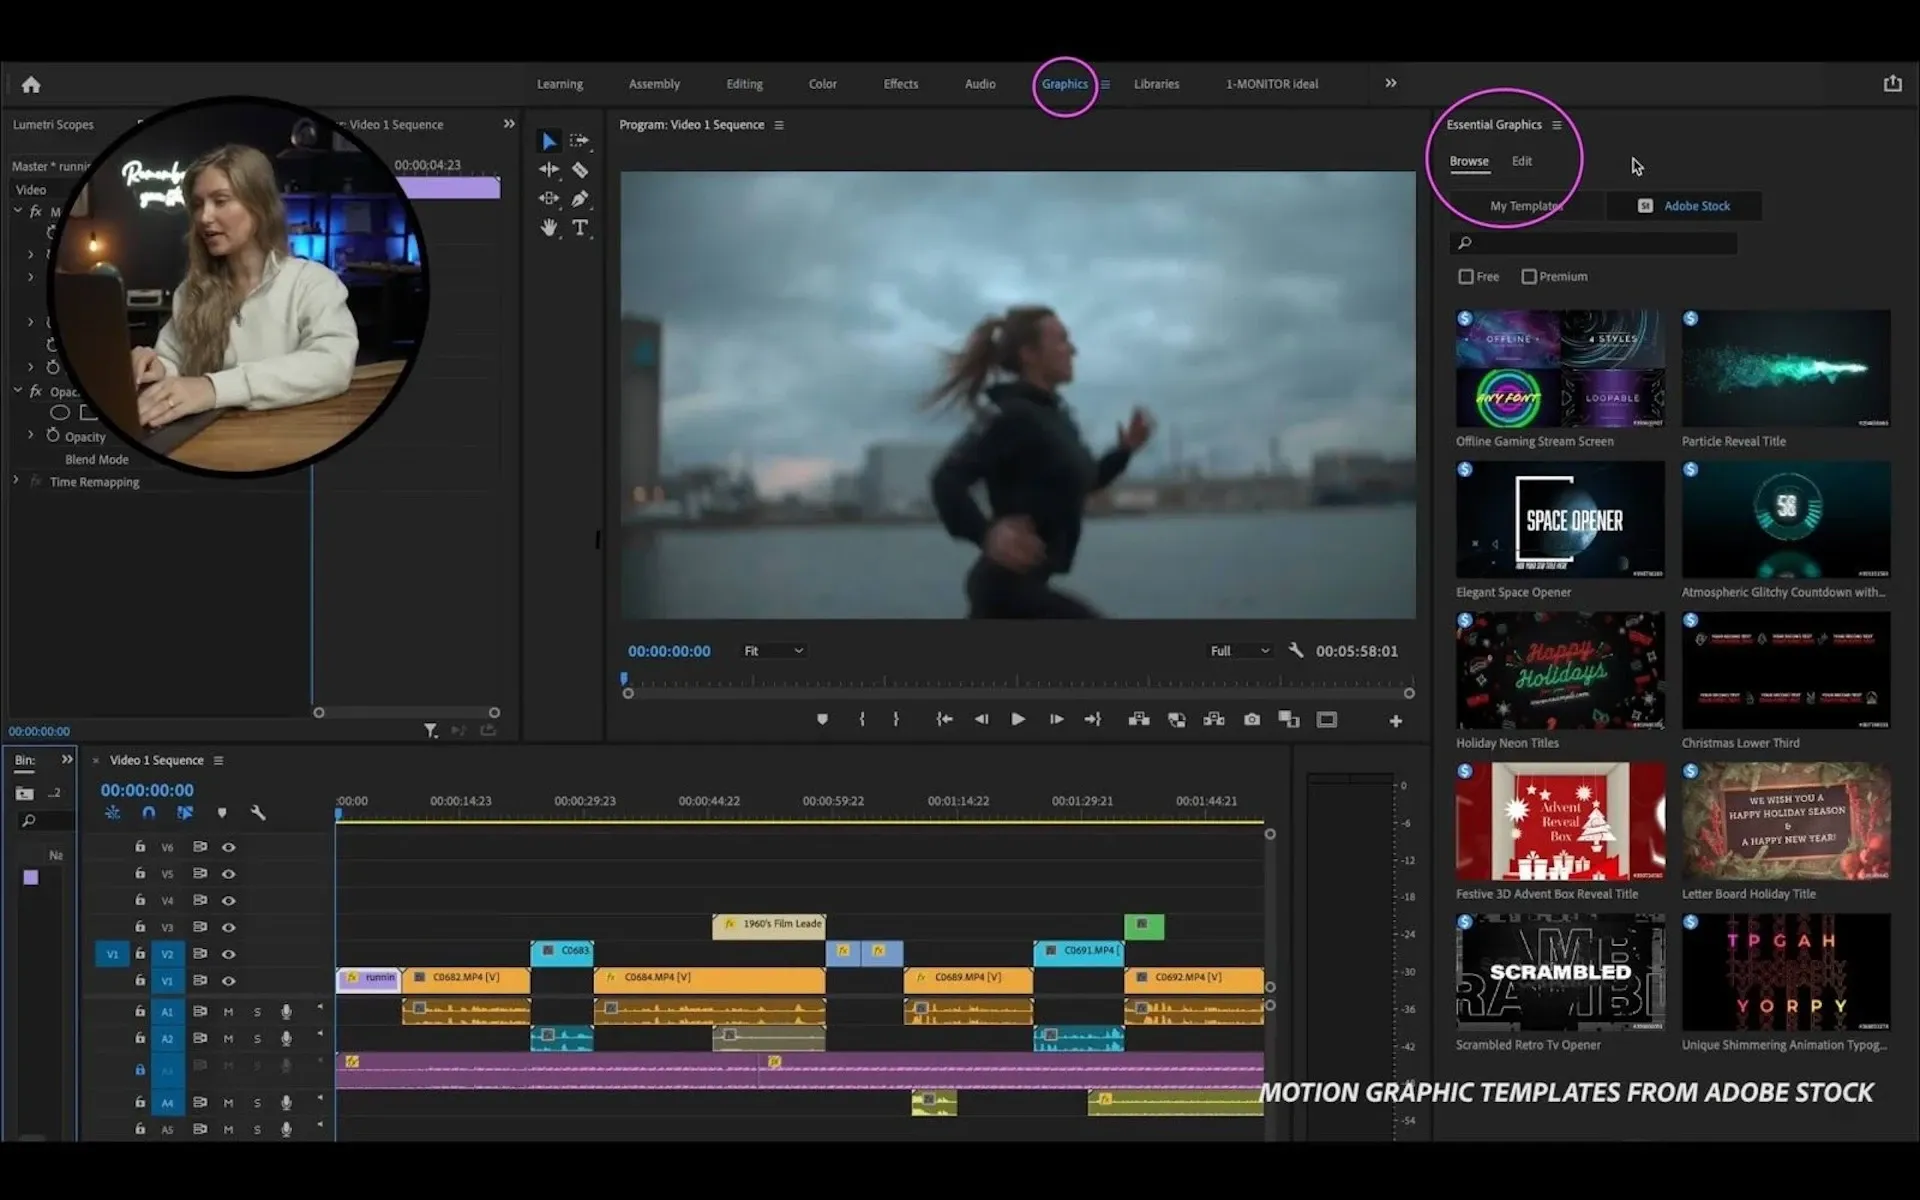
Okay, let’s go back to the Premiere Pro workspace for a moment. When you click on the ‘Essential Graphics’ panel, a sidebar opens with all the graphic options. There, you can browse through either ‘My Templates’ or the Adobe Stock templates. Under ‘My Templates,’ you’ll find some standard-title motion graphics and lower third motion graphics. You’ll also find any templates you’ve added to Premiere Pro yourself.
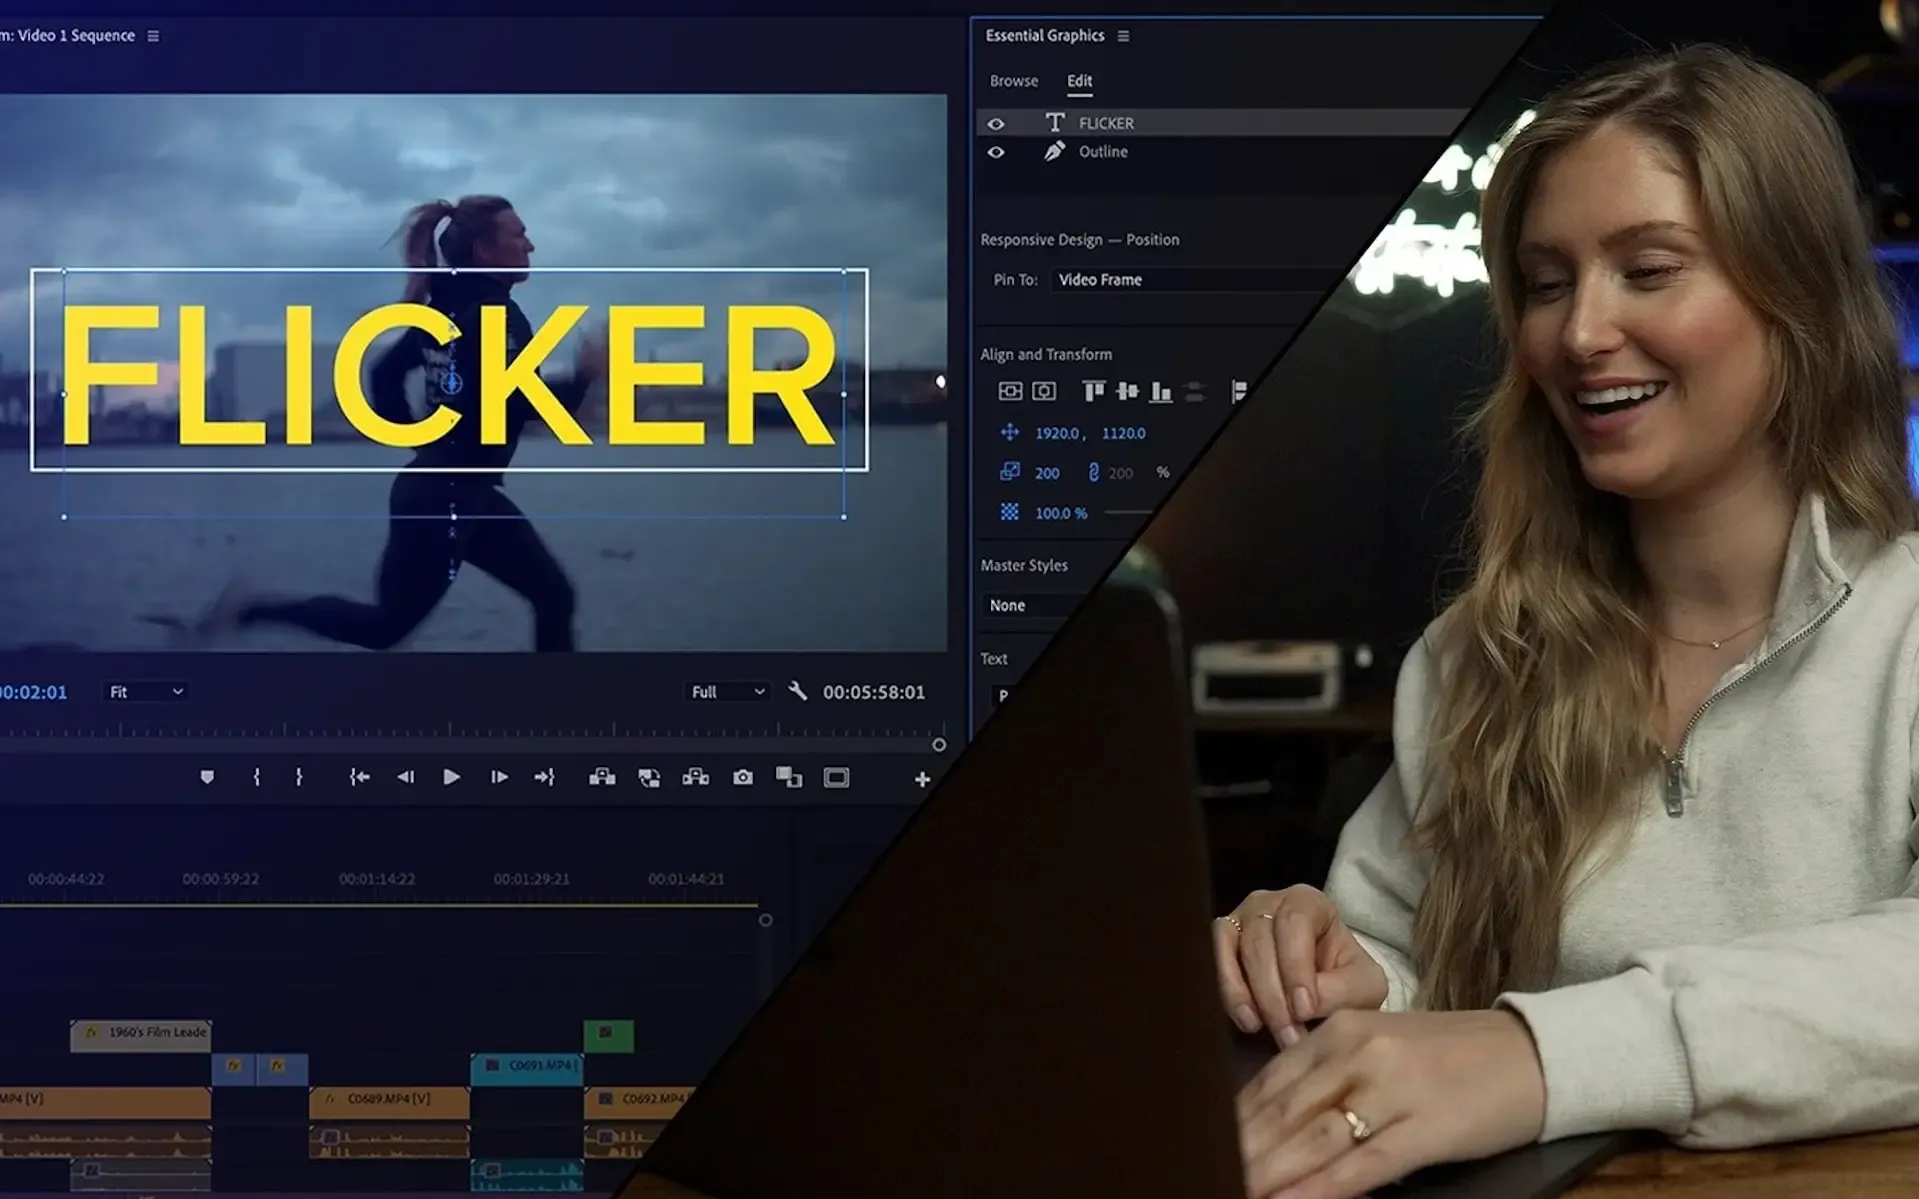
Similar to adding presets into Lightroom, you can add import motion graphic templates into Premiere Pro that you can use over and over again. To use one of the graphics in the sidebar, just drag it into your timeline. The best part, in my opinion, is that you can customize it. To do that, you click on the graphic in the timeline or on the Edit button in the panel, and tons of options pop up. You can customize the font, size, color, and a bunch of other things.
These templates are a great starting point for adding graphics to your project. However, if you want to step it up even further – head over to the Adobe Stock section of the panel. There, you’ll find even more complex and even more high-quality graphics that will really level up your video.
How to purchase motion graphics in Premiere Pro
There are pages upon pages with options, and some of them have this blue dollar sign symbol in the top left corner. That means you have to purchase a license to use that graphic, and that can all be done in Premiere Pro.
The thing I love about these graphic features is that I don’t have to leave my project, go on the internet and search a bunch of stock websites for the perfect template. Instead, I can do everything within my project file in Premiere Pro.
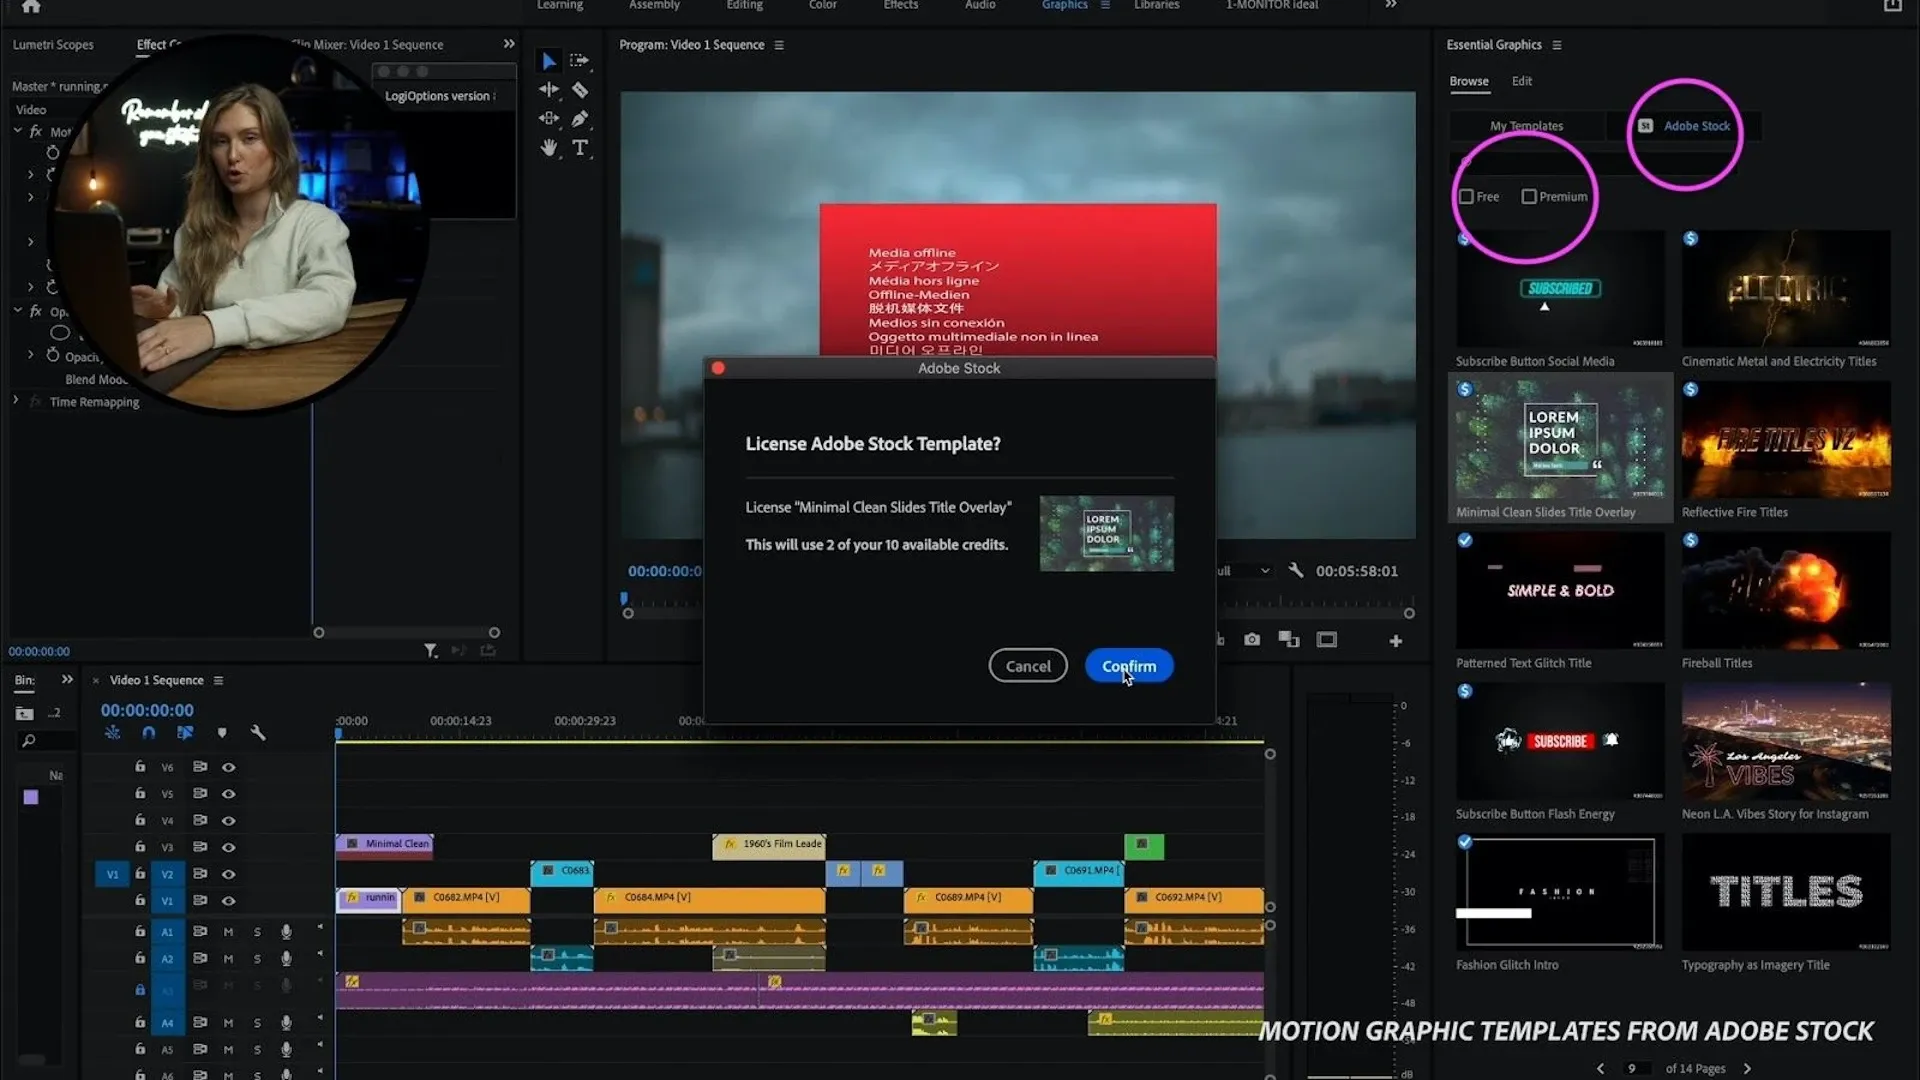
If you decide to use one of the graphics with the dollar sign on it, you drag it into your timeline and a pop-up window will show up. All you have to do is click Confirm and it will take you directly to Adobe Stock’s website, where you can buy the license. After that, you can just keep on working on your project – it’s as simple as that!

Where to find free motion graphics templates
Now, if you don’t have a budget to be purchasing licenses for your project, that’s okay – there is an option for you too. All you have to do is check the little box that says ‘Free’ and Adobe Stock will show you options that are free to use. Adobe Stock has almost 600 free motion graphics templates, so you won’t have a problem finding one that will suit your project. For these free ones, all you need to do is drag them into your timeline and you’re all set. After that, you can go nuts on customizing them – the font, the color, and the timing. Make sure to keep an eye on your ‘actions safe’ and ‘title safe’ zones while you customize your motion graphic templates. To see how my video turned out by using Adobe Stock’s motion graphics, check out the video below!
Personally, I think videos look so much better when you add motion graphic templates and put some effort into customizing them. Motion graphic templates can really take your videos to the next level. Another big win with using these is that it’s so much easier than creating your own, which can take hours. I’m sure you’d rather spend that time editing your actual video. So what have we learned here today? We’ve learned to work smarter, not harder! Don’t miss my next blog post, where I’ll be going into the nitty-gritty on color grading.
Creator's Lab is an educational series co-produced by Adobe Stock and Epidemic Sound, aiming to provide tips and tricks to storytellers to bring their video content to the next level.
Lizzie Peirce is an Epidemic Sound ambassador and pro-content creator from Toronto. Lizzie is also running a production company together with her fiancé Chris Hau, who is a successful content creator as well.
Need top-tier music for your next video but haven't got a subscription? Sign up below.

Related posts:

