Your guide to more than 30 different camera shots
Check out our guide to over 30 camera shots and angles, covering everything from long shots to Dutch angles.

Compiling a shot list can be a marathon. It might feel like homework, but it helps you run a tight ship once the camera’s rolling.
So, get your pen out and prepare to mark up that shot list — let’s run through more than 30 different types of camera shots in film, TV, and more.
We’ll cover:
- What are the nine types of camera shots?
- What are the ten main camera angles?
- What are the ten key camera movements?
- What are the five major points of focus?
- Framing subjects within the shot
What are the nine types of camera shots?
While we’ll cover more than 30 types of camera shots and angles today, there are nine core shots we should run through first. They are:
- Full shot (FS)
- Medium shot (MS)
- Medium close-up shot (MCU)
- Close-up shot (CU)
- Extreme close-up shot (ECU)
- Cowboy shot (CS)
- Long shot/wide shot (LS/WS)
- Medium long/wide shot (MLS/MWS)
- Extreme long/wide shot (ELS/EWS)
Full shot (FS)
The full shot (FS) does what it says on the package, giving viewers a full view of the subject, head to toe. There’s some background to add context, but the focus is on the subject, their body language, their facial expressions.
Check out these full shots from Wes Anderson’s Moonrise Kingdom. They double up as tracking shots — more on those later — but they get the job done in a visually exciting way.
Medium shot (MS)
Medium shots (MS) are one of the more common shots out there, capturing the subject from the waist and above. They’re great for framing tense conversations and smaller actions, and can make for uncomfortable or intense viewing if held for a long time — here’s a terrifying example from Stanley Kubrick’s adaptation of The Shining.
Medium close-up shot (MCU)
No, it’s nothing to do with Marvel. The medium close-up shot (MCU) frames your subject from around the top of the chest to the shoulders, making them ideal for fast-paced cuts between two or more people deep in conversation.
MCUs are great for closed interview settings and vox pops, or even more bare-bones setups. One of the world’s most-subscribed YouTubers, PewDiePie, often uses MCUs in his content.
Close-up shot (CU)
You know the close-up shot (CU). It can still carry some of the background, but all of that focus is on the face, the emotion, the words written across someone’s expression. There are some fantastic, darn terrifying close-ups in the trailer for Jordan Peele’s Oscar-winning Get Out — watch it with the lights on.
Extreme close-up shot (ECU)
The face, just the face, nothing but the face. Extreme close-up shots (ECU) provide even more detail than regular close-ups, letting viewers into every pore of the subject’s skin. Quentin Tarantino’s Inglourious Basterds is by no means a subtle movie, but it’s full to the brim with beautiful shots. Here’s just one of them.
Cowboy shot (CS)
As you might have guessed, the cowboy shot (CS) comes from Westerns. They’re shot from the mid-thigh and up, traditionally to emphasize a holstered gun. Nowadays, they’re used for so much more than Clint Eastwood having shootouts with anyone who looks at him the wrong way.
You can catch quite a few CS examples in the below scene from Brooklyn 99, interspersed with closer and wider shots — the contrast really adds to the humor.
Long/wide shot (LS/WS)
Long shots (LS), also known as wide shots (WS), do the same job as a full shot, but with more background. Your subject will feature wholly in the shot, but won’t fill it completely.
The point of a WS is to contextualize your subject within the landscape — this scene from Damien Chazelle’s La La Land does that perfectly. It’s not fussy or overly dramatic, rather just establishing the environment while showing the two protagonists going their separate ways.
Medium long/wide shot (MLS/MWS)
The medium long/wide shot (MLS/MWS) is a meeting point between a full and medium shot. Ideally, an MLS frames your subject from the knees and above, drawing focus to both the subject and location.
This scene from Steven Spielberg’s Catch Me If You Can uses an MLS to level the playing field between the movie’s two main characters — we’ll not spoil it if you’ve not seen the film, as it’s an all-timer.
Extreme long/wide shot (ELS/EWS)
Extreme long shots (ELS), also called extreme wide shots, make your subject feel tiny against their backdrop. Within the whole frame, your subject will be a drop in the ocean, a needle in a haystack — this shot’s perfect for conveying uncertainty, hopelessness, and fear. Lovely stuff.
Extreme long and wide shots are peppered throughout the language of cinema, and none is more famous than this shot from Lawrence of Arabia. David Lean’s 1962 epic is rightly acknowledged as one of the greatest films of all time, packed with more iconic shots than you’d care to mention.
Check out the below ELS of Sherif Ali emerging on a camel through the desert, tightening the tension by just riding closer and closer.
Alongside those nine camera shots, there’s also an equally important tenth: the establishing shot.
Establishing shot (ES)
An establishing shot (ES) appears at the start of the scene, letting viewers know what they’re in for. It’s usually a wider shot, and may also be a tracking shot.
An establishing shot sets the scene, as do other elements. Take music: it reveals space, mood, feeling. If you’re looking for inspiration, don’t settle for second-best — check out our catalog of more than 50,000 top-notch tracks below.

What are the ten main camera angles?
So, those were the essential camera shots. Now it’s time to run through the ten key camera angles:
- High-angle shot: High-angle shots are taken at an angle above the subject, often to infantilize or make fun of them. That’s not always the case, though — sometimes, they just look arty.
- Eye-level shot: These shots are taken at eye-level, as if you were in the scene. You’re seeing the conversation from a subject’s point of view.
- Low-angle shot: Low-angle shots look up at the subject from the ground. They’re usually employed to emphasize power, fear, or sheer scale. This would be perfect paired with some tastefuly done backlighting.
- Shoulder-level shot: This places the camera at a similar level to your subject’s shoulders, giving off similar vibes to the low-angle shot.
- Hip-level shot: These are shot from the hip, usually to capture an MLS.
- Knee-level shot: Knee-level shots position the camera around a subject’s knees, often filming what’s in front of them. They can make for dramatic shots, as you can’t always see what’s painted on your subject’s face.
- Ground-level shot: Ground-level shots take in the action from the floor. They can capture busy feet and nitty-gritty details happening on the floor, but can also be used to elicit shock. For example, the subject could fall to the floor and their face would become the main event of a ground-level shot.
- Dutch angle: The Dutch angle tilts the camera slightly off-axis, giving the footage a confused look.
- Bird’s-eye view: These are also known as overhead shots, commonly used to give your footage scale.
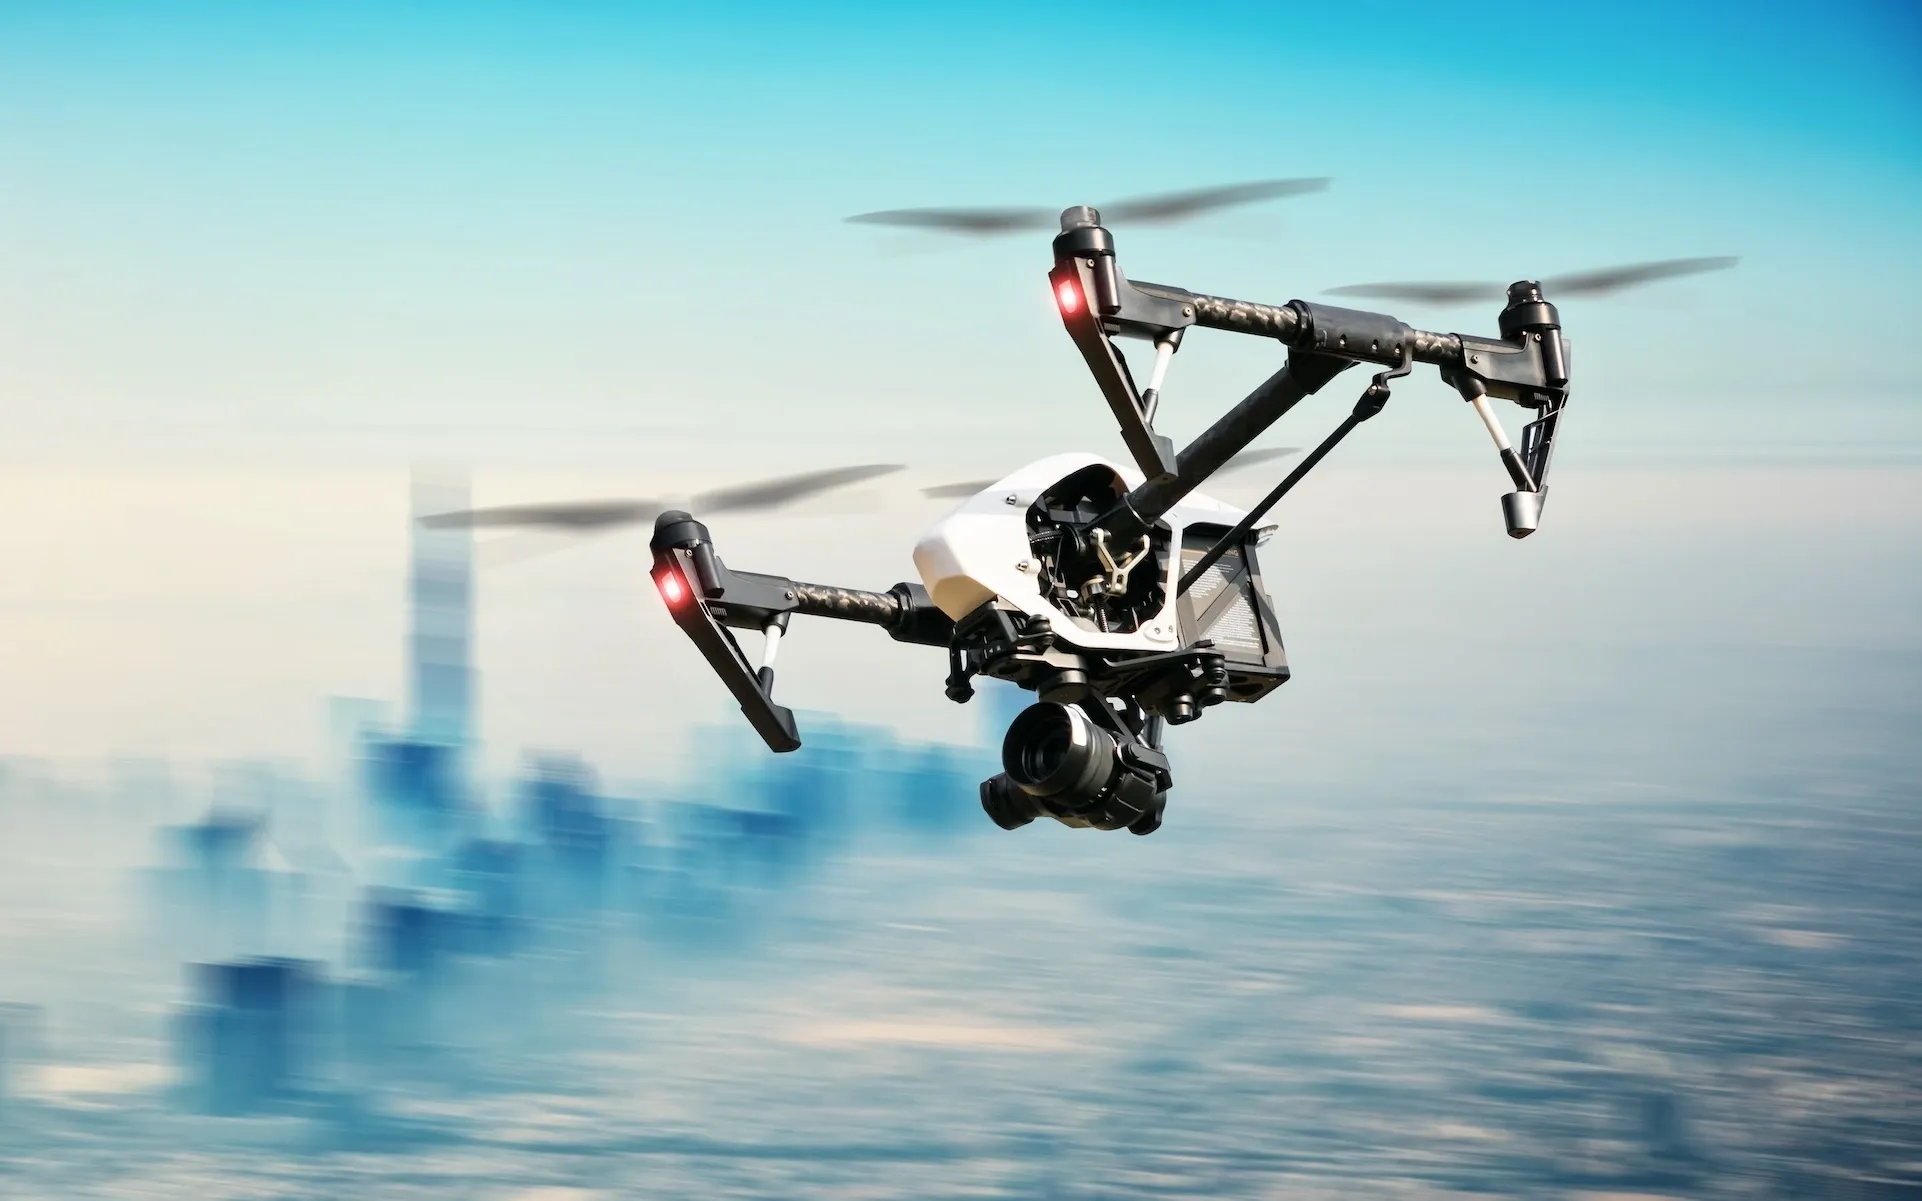
- Aerial shot: This takes things one step further, shooting from a crane, helicopter, or drone. They’re perfect for establishing shots and B-roll, as they can take in an entire city, if needed, in one shot.

What are the ten key camera movements?
So, you’ve got all of those different camera shots and angles under your belt — hopefully you have a little more space.
Here are ten core camera movements that’ll give your content more dynamism:
- Static shot: These shots don’t move, placing focus on the subject. Great for dialogue, but maybe not the best choice for an action-heavy scene.
- Tracking shot: This follows your subject as they move, rather than cutting to a new shot.
- Zoom shot: The camera lens zooms in on a subject, but the camera itself doesn’t move.
- Dolly shot: Most modern-day tracking shots are technically dolly shots — meaning, they’re shot using a dolly cart. This leads to smooth, manageable movement.
- Dolly zoom shot: The dolly moves in or out while manually zooming, creating an uneasy image where the background changes but the subject doesn’t.
- Pan shot: The camera pans to the side, usually to reveal an extra nugget of information.
- Whip pan shot: One shot pans to another, creating a ‘whip’ effect.
- Tilt shot: This is the same as a pan shot, but vertically rather than horizontally.
- Whip tilt shot: This is the same as a whip pan shot, but up rather than to the side.
- Arc shot: This shot circles the subject to drink in more of the scenery. It’s often achieved with a dolly on a circular track.

What are the five major points of focus?
You need the camera to focus on your subjects, otherwise it just looks like your footage has serious hay fever. Camera operators will pull focus to ensure the subject stays in the correct range and in focus — let’s look at the different ways to play with this:
- Shallow focus shot: The subject is crystal clear in the foreground, but the background is blurred.
- Deep focus shot: Everything, everywhere is in focus.
- Soft focus: This lands between deep and shallow focus, giving your footage a dreamy texture.
- Split diopter shot: Using a split diopter lens provides two different focal lengths, which are ‘split’ down the middle by a soft blurred line. It’s an unnatural device, often used to keep focus on a foreground and background subject while blurring the middle-ground.
- Tilt-shift shot: This uses a tilt-shift lens to keep one part of the frame in sharp focus while slackening in other areas.

Framing subjects within the shot
Even with all of the above shots in your pocket, there are different ways to compose them. For example, you can use a single shot, two-shot, or three-shot, all getting their names from how many subjects are in the frame.
You also have over-the shoulder (OTS) or over-the-hip (OTH) shots. OTS is great for conversation, as they easily follow the 180-degree rule and makes for natural back-and-forth.
OTH is a similar deal, but is shot from the hip of a standing character while the subject sits or crouches. OTH shots are usually rolled out to show some kind of power dynamic.
Then, if you want to go full gonzo, you can try a point-of-view (POV) shot. These are literally filmed like the camera is a person — for one of the most effective POV examples, try watching some Peep Show. If you can stop cringing enough to look, that is.
Firming up your shot list is just the bones of a great production. Finding the right crew, equipment, and post-production materials will give your content the extra shine it needs.
Speaking of post-production: one of the most important parts of the process is finding the right music. After all, the soundtrack can make or break your content — best not to leave it to chance. Find the perfect match every time with Epidemic Sound.
Our catalog is high-quality, affordable, and safe. An Epidemic Sound subscription goes beyond royalty-free music, removing the headache of licensing and freeing you up to do what you do best.
You can enjoy the safety of our license hand-in-hand with our massive catalog of 50,000 tracks, covering just about every genre you can think of. You’ll also gain unlimited access to our advanced search functions — finding the right sound’s never been easier.
It’s better than royalty-free. It’s worry-free. Get started with Epidemic Sound below.

Are you a filmmaker? We've got you covered with background music for videos, including:
Take your video editing to the next level with our massive catalog of music for filmmakers.

