How to use Adobe After Effects
Adobe After Effects is a first-draft pick for motion graphics and digital effects. Dig into our tutorials for animation, plugins, green screen, and more.


Adobe After Effects is a beast of a program, and is considered one of the finest in its field. But what does it do, who’s it built for, and what are some of the standout features?
We’ll cover all of that and more today, including:
- What is After Effects?
- Do professionals use After Effects?
- Is After Effects good for video editing?
- Is After Effects free?
- How much does After Effects cost?
- Is there a free After Effects alternative?
- What are the After Effects system requirements?
- Is there an After Effects app?
- Does After Effects have hotkeys?
- How to use After Effects: The basics
- 3D text
- 3D models
- 3D camera
- Green screen
- Glitch effect
- Roto Brush
- Generative fill
- Graph editor
- Color effects
- After Effects plugins

What is After Effects?
After Effects is an Adobe-owned editing software used for visual effects, motion graphics, animation, compositing, and more. It comes to life during post-production, allowing filmmakers and editors to manipulate multiple layers of video across the same project timeline.
The software’s been around for over three decades, undergoing more than 70 different versions. Green screen, 3D models, text animation? It’s all in there. Stick around for the lowdown on all things After Effects, then we’ll dig into the most popular effects and features.
Do professionals use After Effects?
After Effects is readily available to pretty much anyone, but does that cheapen it? Not one bit. The software’s used everywhere across sectors including — but not exclusive to — film, TV, advertising, digital media, web design, and more. It’s an essential tool in a professional filmmaker’s workflow, complementing other programs within an Adobe Creative Cloud subscription, but not chained to it.
Filmmaker Gareth Edwards used After Effects to prove his worth with 2010’s Monsters, while Star Trek: Into Darkness wrangled the software for its credits sequence in 2013. And if you’ve not heard of that little show Stranger Things, check out the intro below. Yep, it’s After Effects.
Think of some of the world’s best actors — Willem Dafoe, Toni Collette, someone like that. Neither of them have won an Oscar. After Effects literally won an Oscar before them, nabbing a trophy in 2019 for a Scientific and Engineering Award. If it’s good enough for the Academy Awards, it’s good enough for the rest of us.
Is After Effects good for video editing?
After Effects is a powerful engine, but it’s not the best at day-to-day video editing. Programs like Adobe Premiere Pro and Final Cut Pro are better suited for bulkier, longer video files.
After Effects is the cherry on top, the missing piece of the puzzle — it shapes graphics and supportive material, rather than creating an entire video project from scratch. This is because the editing timeline is structured vertically, allowing users to pile hundreds of effects and layers atop one another. If you did this with video clips, it’d get very messy very quickly. If you’d like to read more about After Effects’ limitations here, check out our article on Premiere Pro vs. After Effects.

Is After Effects free?
If you want to try After Effects before committing to the whole thing, you’re in luck — you can grab a seven-day free trial with Adobe here. The trial offers the full After Effects software for desktop, and can be canceled at any time within the week-long window. However, once the trial ends, you’ll need to pay for a subscription to keep using it.
How much does After Effects cost?
The overall After Effects price varies depending on who’s using it. Generally, it costs $22.99 per month for individual users, or $37.99 for those seeking a business plan. Students, teachers, schools, and universities are eligible for discounted rates, and Adobe often runs sales.
You can also snag After Effects as part of the wider Adobe Creative Cloud package. Depending on the size of your budget, team, and project, this might be worth considering. Read more about After Effects’ pricing here.

Is there a free After Effects alternative?
If your budget can’t stretch or you only need to work on one short project, you could consider a free After Effects alternative like DaVinci Resolve or Blender.
DaVinci Resolve can perform After Effects-like tasks, but the free version doesn’t come with nifty extras like blur effects, stereoscopic 3D tools, or HDR grading. However, the free version doesn’t place a watermark on exported content, which is a huge plus.
Blender is an open-source 3D software that won’t cost a cent, but it’s less user-friendly than After Effects, and isn’t as hot when it comes to 2D animation. Read more about Blender here.

What are the After Effects system requirements?
Most modern computers will run After Effects, but it’s always best to err on the side of caution. Here are the main After Effects requirements for Windows and Mac:
Windows:
- Intel 8th Gen or newer CPU
- Advanced Vector Extensions 2 (AVX2) Support
- Windows 10 (64-bit) version 22H2 or later
- 16GB of RAM
- 8GB of hard-disk space
Mac:
- Intel 6thGen or newer CPU
- macOS Monterey (version 12) or later
- 16GB of RAM
- 8GB of hard-disk space
If you’d like to peruse the recommended settings, head to Adobe’s After Effects system requirements page.
Is there an After Effects app?
There is no mobile After Effects app, nor is there a sneaky After Effects APK — the only After Effects app is the official software available from Adobe. Anything else you come across is not legit, and may leave you open to viruses and other trouble.

Does After Effects have hotkeys?
After Effects is packed full of features, which means, well, more things to remember. Not a problem — the program’s happy to let you hotkey your way through projects, executing commands with a button or two.
We can’t list them all now, otherwise we’d be here for days. However, once you get cozy with After Effects and figure out which features are your favorites or most-used, you’ll almost certainly be able to find a corresponding hotkey. Whether you want to add new layers or keyframes, zoom in and out, interpret footage, or something else entirely, you can tap away.
After Effects is a world-class tool, but it’s only as good as the people and project behind it. Without incredible visuals, audio, and behind-the-scenes magic, motion graphics and animation can only take you so far.
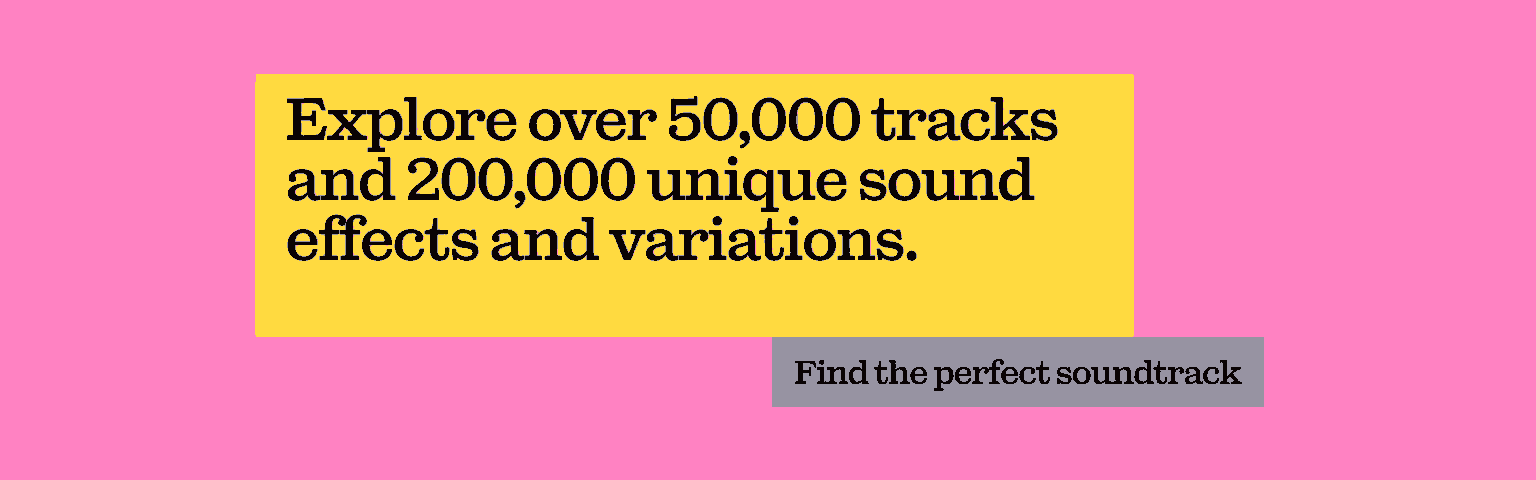
Give your content the best chance with the perfect soundtrack — use Epidemic Sound. Our catalog of more than 50,000 tracks and 200,000 unique sound effects and variations will help you find the right fit every time.
How to use After Effects: The basics
Now that we’ve discussed what After Effects is, who it’s for, and how you can access it, let’s get into it. Here’s a checklist of tips, tricks, and mini After Effects tutorials, covering the program’s core features.
After Effects: 3D text
Creating and editing 3D text is one of After Effects’ biggest selling points. Here’s how to build 3D text-based content:
- Press the ‘Ctrl’/’Command’ and ‘T’ key to create your text as a regular text layer.
- Select your text layer, then set it as 3D. This will produce a standard, thin 3D layer.
- Keep the layer selected, then hit ‘P’ to show its position properties.
- Click ‘Alt’/’Option’, then the stopwatch next to ‘Position’. This opens the ‘Expressions Editor’ menu, which you can set to ‘[value[0],value[1],index*10]’.
- Hold ‘Ctrl’/’Command’, then tap ‘D’ to duplicate the layer.
- Keep duplicating layers until you reach the 3D thickness you’re after.
- Select the original text layer and all of its duplicates, then pick whip them — it’s the swirly icon — to the Null layer. This now means that the Null layer is the parent layer.
- Set the Null layer to 3D as well. Then, select all of the layers apart from the Null layer and the front layer. Adjusting the color in those selected middle layers affects the sides and depth of your 3D text.
- Click the ‘R’ key. This lets you rotate the Null layer, and the other layers will follow. You can then add more duplicate layers or remove existing ones, which will change the depth of the 3D text.
From there, text and logo animation can be activated with the ‘Transform’ option — this changes the layer, rather than the text within. Alternately, feel free to throw on a text animation preset or animate the source text.

After Effects: 3D models
Created or downloaded 3D models elsewhere? No worries. After Effects lets you import and render 3D model files as you would with other 3D layers, like lights and cameras.
After Effects supports popular 3D model files like GLTF, GLB, and OBJ. You can use these models for everything from character animation to UX mock-up animations.
After Effects: 3D camera
After Effects’ 3D camera tracker is the go-to tool for extracting camera motion and scene data from a 3D scene. It also helps you composite 3D elements atop any 2D footage you may have. Here’s how to access and apply this handy fix:
- Select a layer of footage, then click ‘Animation’ and ‘Track Camera’. This applies the 3D camera tracker. Footage status will appear as a banner across your footage.
- Change the settings as appropriate. Any 3D-solved track points will appear as small ‘X’ shapes — you can use these to place more content in the footage.

After Effects: Green screen
After Effects is ideal for tinkering with chroma-keyed footage, as it boasts a bunch of handy green screen options and presets. Here’s how to replace green screen footage with a different background:
- Import your green-screened footage, and create a new project timeline.
- Head to the ‘Effects & Presets’ panel, then find the snappily-titled ‘Keylight + Key Cleaner + Advanced Spill Suppressor’ tool. Drag that onto your video clip.
- Go to the ‘Effects’ window and hit the ‘Keylight’ option. Underneath the ‘Screen Color’ setting, click the eyedropper-style icon and select the green screen color.
- Select the ‘Screen Matte’ option to view your content in black, white, and gray. If you’d like to adjust the effect on your background or subject, mess around with the ‘Clip Black’ and ‘Clip White’ options.
- Click the ‘Key Cleaner’ effect to smooth over your subject’s edges. This will make your final green-screened shot look more realistic and less choppy.
- Reinforce this with the ‘Advanced Spill Suppressor’. This cleans up any excess spill from your subject into the background — you can also toggle the intensity, depending on how much of a clean-up you need to do.
- Add a new background to the project timeline, on a separate row to your green-screened footage. If you still see straggling bits of green, go through the previous steps again to try and pin down the problem.

After Effects: Glitch effect
After Effects’ heavy focus on motion graphics makes it a solid choice for freaky, glitched-out effects. Check out our guide on datamoshing, which is the official term for this technique — you don’t even need a plugin, if you want to go old-school. If you are strapped for time, though, you can always try something like the Datamosh 2 plugin.
After Effects: Roto Brush
After Effects takes rotoscoping to the next level with its AI-powered Roto Brush. Separate a subject from the background, replace the background, add whatever effects you want — Roto Brush will get the job done.
The Roto Brush menu’s tucked away in the toolbar, under an icon of a paintbrush and a person. If you’re struggling to find it, you can always use the ‘Alt’/’Option’ and ‘W’ hotkey to open it up.

After Effects: Generative fill
After Effects makes generative filling user-friendly, whether that be through masking or Adobe’s own Content-Aware Fill. Here’s how to do the latter:
- Draw a mask around the area of your content you’d like to fill.
- Click on ‘Windows’, then ‘Content-Aware Fill’. From there, hit ‘Fill Method’, then set the range you’d like to analyze.
- Select ‘Generate Fill Layer’, which true to its name, generates a fill layer on top of the masked layer.
After Effects: Graph editor
If you’re working on anything that requires smooth movement, you could do worse than After Effects’ graph editor capabilities. There are tons of different ways to animate graphs within the program, but for clarity and brevity, we’ll stick with a more straightforward ‘S’ curve:
- Import an object into your composition. Click ‘P’ to access the ‘Position’ menu, then ‘Separate Dimensions’.
- Set two keyframes, then move the object from left to right. Select both keyframes, then Easy Ease them with the F9 key.
- Click ‘Shift’ and ‘F3’ to access the graph editor. You’ll see a lovely, soft, ‘S’-shaped curve in your object’s movement.

After Effects: Color effects
After Effects works like a dream when it comes to color correction, effects, and editing. Let’s rattle through a few of the standout features:
- Auto Color and Auto Contrast: These tools automatically adjust the contrast within an image, based on variables like shadows, midtones, and highlights.
- Auto Levels: This makes highlights seem brighter and shadows look darker.
- Change Color: You can change the color of a subject or portion of the frame without affecting the rest of the action.
- Color Balance: Tweak the red, green, and blue across your content’s shadows, midtones, and highlights.
- Equalize: This changes your content’s pixel values to create a more stable brightness level.
- Lumetri Color: This gives you the power to color grade footage directly on the After Effects timeline.
- Vibrance: This plays around with saturation, cranking up the values without oversaturating important details like skin tones.
After Effects plugins
We’ve waxed lyrical about After Effects, and it is a genuinely great program. But Adobe know that they can’t please everyone. That’s why After Effects generously allows for plugins, letting users customize their experience based on their needs.

Take the award-winning Sapphire plugin, the effects of which pop up in Hollywood movies, TV shows, and music videos. Or on the lower-scale side, the Flow plugin, which eases keyframes and makes your curve editing sing.
And if we’re to blow our own horn, there’s the Epidemic Sound Plugin for Adobe Premiere Pro. Once you’ve downloaded this puppy, you can enjoy the full Epidemic Sound experience directly in your Premiere Pro, Audition, or After Effects editing space. There are so many exciting plugins out there to suit your workflow, and Adobe’s made a software that can accommodate them.
In the right hands, After Effects is a world-class tool — it’ll give back as much as you put in. The sheer scope and quality of the features can provide your content with the polish it needs to stay ahead of the pack.
Another way to fine-tune your project is with music. After all, the soundtrack can make or break your content — why let one needle-drop derail your project? Epidemic Sound’s got you covered.
Our catalog is high-quality, affordable, and safe. An Epidemic Sound subscription goes beyond royalty-free music, removing the headache of licensing and freeing you up to do what you do best. You can enjoy the safety of our license hand-in-hand with our massive catalog of 50,000 tracks, covering just about every genre you can think of. You’ll also gain unlimited access to our advanced search functions — finding the right sound’s never been easier.
It’s better than royalty-free. It’s worry-free. Get started with Epidemic Sound below.

Related posts: