What are J-cuts and L-cuts, and how do they work in video editing?
J-cuts and L-cuts are key to the video editing process. Learn what they are, how to do them in Premiere Pro, and the best J- and L-cut examples in film.


J-cuts and L-cuts have existed in movies for nearly a century. They’re exciting, simple, and effective ways to make your transitions pop. But what are they, and how can you use them to create killer content?
We’ll run through the J-cut and L-cut essentials today, including:
- What are J-cuts and L-cuts?
- What is a J-cut?
- What is an L-cut?
- Where do J-cuts and L-cuts come from?
- What are J-cuts used for?
- What are L-cuts used for?
- How to use J-cuts and L-cuts
- Which tool is best for creating J-cuts and L-cuts?
- Check out some J-cut and L-cut examples
What are J-cuts and L-cuts?
J-cuts and L-cuts might sound like part of highbrow filmmaking lingo, but we’re here to break them down. In a nutshell, J-cuts and L-cuts are transitions where the audio and visuals change at different times, allowing both mediums to work their magic.

Professional editors usually call J-cuts and L-cuts “split edits.” They’re stylistic editing decisions, but also help smooth over rough transitions, shake up your content’s flow, and ensure the on-screen story doesn’t feel static.
That’s why J-cuts and L-cuts work a treat for dialogue. They can break up a conversation, hide where your dialogue tracks switch, and make speech feel visually exciting or even suspenseful.
Used well, these cuts make your scenes feel warmer, more visually exciting, and natural. Just imagine hard-cutting every time something happened or someone spoke — your content would probably feel a bit clinical.
What is a J-cut?
A J-cut plays the next shot’s audio before said shot appears on screen. This means the J-cut can start in complete darkness, or it can introduce an upcoming sound in the previous shot. The relationship between the audio and video makes a “J” shape in the editing timeline — that’s why it’s called a J-cut.

What is an L-cut?
An L-cut does the opposite to a J-cut, carrying the audio from one shot to the next. This means that while you can no longer see what’s happening in clip 1, you can still hear it in clip 2. This creates the “L” shape in your editing timeline, from which the L-cut gets its name.
Where do J-cuts and L-cuts come from?
J-cuts and L-cuts have roots in the golden age of Hollywood, way back in the 1920s. Ever since “talkie” films were thrust onto cinema screens, editors have fiddled with film stock and audio reels, figuring out how best to compose a scene.
What are J-cuts used for?
J-cuts usually act as lead-ins to a visual, given the sound from clip 2 arrives before clip 1 ends. This gives you the space to get super-dramatic and create a sense of urgency or anticipation, because the audio from clip 2 is already playing.
One of the most powerful J-cut examples is whenever they’re dropped into opening scenes. The audio plays before there’s any video, immediately grabbing the viewer’s attention. What the heck’s that cat hissing at? You’ll have to keep watching the movie to find out.

What are L-cuts used for?
L-cuts are perfect for making a scene linger. L-cut examples often pop up in montages or voiceovers, as you can show the viewer a selection of imagery while the audio from clip 1 describes it.
L-cuts are also striking choices to end your content, if you plan to leave viewers with something a little more dramatic. Longer-form mediums like TV and film use L-cuts for cliffhangers — they’ll cut to black as the final piece of audio rings out.
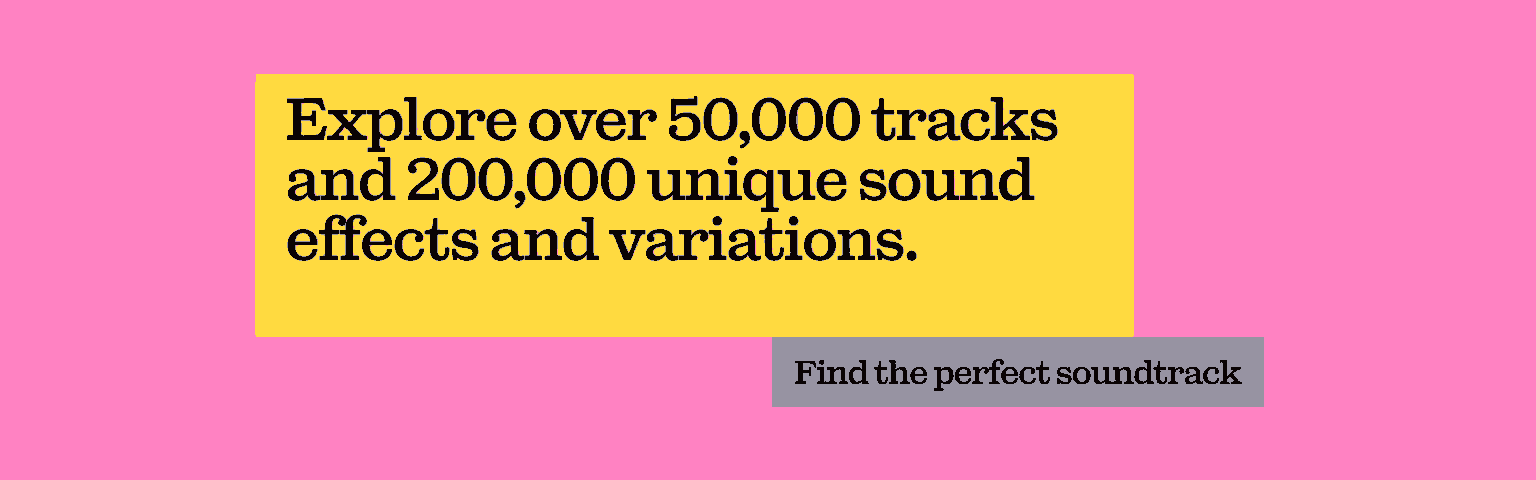
If you’re on the hunt for some music to punctuate your J-cut or L-cut, we’ve got you covered. Dive into Epidemic Sound’s catalog of more than 50,000 tracks and 200,000 unique sound effects and variations below.
How to use J-cuts and L-cuts
J-cuts and L-cuts are great techniques once you get to grips with them, but they do require a degree of trial and error. Once you’re comfortable slicing and dicing, you’ll find that the process speeds up and becomes more like hygiene.
There is no real J-cut vs. L-cut debate when deciding which to use. Go with what serves the content best — the quickest way to find out is by trying it yourself.
The creation process for a J-cut or L-cut will differ from software to software. For example, Adobe Premiere Pro features a “rolling edit” tool, which removes most of the manual work. However, there are still a few universal basics to editing J-cuts and L-cuts.

What you need
- Clip 1, also known as “primary footage”
- Clip 2, also known as “B-roll”
- Audio from both clip 1 and clip 2, unlinked from the video
How to use a J-cut
- Place clip 1 before clip 2 in your video editing software, with the corresponding audio underneath.
- Cut down clip 2 on the left-hand side, so the visual begins when you want to transition from clip 1 to clip 2. Keep clip 2’s audio on the project timeline and drag it back, so it starts during clip 1 and remains in sync with clip 2’s visuals.
- In your editor, you’ll see clip 1’s audio and video. You’ll also see that the audio from clip 2 overlaps with clip 1’s audio — this is fine.
- Clean up any outlying audio between clip 1 and 2. This could be overlapping speech, background noise, or sound effects you don’t want trampling over the audio from clip 1 to 2. Consider fades and crossfades to tidy up these loose ends.

How to use an L-cut
- Place clip 1 before clip 2 in your video editing software, with the corresponding audio underneath.
- Cut down clip 1 on the right-hand side, ending when you want the visual to transition to clip 2. But do the opposite of what we mentioned for J-cuts — keep the clip 1 audio running into clip 2.
- In your editor, you’ll see clip 2’s audio and video, with some audio overlap from clip 1.
- Clean up the audio overlap from clip 1 to 2, similar to how we smoothened the J-cut.
- If you’re creating a montage, try adding some B-roll after clip 1.
Which tool is best for creating J-cuts and L-cuts?
You can create J-cuts and L-cuts with pretty much any video editing software or program. It’s one of the most basic visual techniques in content creation, and can be achieved with everything from iMovie to Adobe Premiere Pro.

Check out some J-cut and L-cut examples
Now that we’ve run through what J-cuts and L-cuts are, how they work, and how you can create them, let’s wrap up with some best-in-class cases. Here are three examples of elite-tier J-cuts and L-cuts from 21st-century film.
There Will Be Blood (2007)
Spoiler warnings and a massive NSFW notice ahead, as our first pick is the final scene from Paul Thomas Anderson’s There Will Be Blood. The finale takes place in a lonely bowling alley, just Daniel Day-Lewis and Paul Dano facing off.
The confrontation opens with a sensational L-cut, letting the viewer hang on to Dano’s reaction as more information is unearthed. There Will Be Blood famously employs long, lingering shots, lending this scene even more impact. You’re sitting waiting for the perspective to shift, and it just doesn’t.
The Wolf of Wall Street (2013)
With The Wolf of Wall Street, Martin Scorsese created one of the most-memed scenes of the past fifteen years: “You gotta pump those numbers up — those are rookie numbers.” The clip opens with Leonardo DiCaprio, happy as can be on the stock-market floor. He’s smiling, everything’s great, and a hypnotic humming plays in the background.
The J-cut reveals that it’s actually Matthew McConaughey, sitting opposite DiCaprio in the next scene, lost in some kind of trance. As a junior colleague, DiCaprio feels like he has no choice but to join in.
Dune: Part One (2021)
Denis Vileneuve’s Dune: Part One is packed with action, suspense, and a massive worm. It’s one of the standout big-screen experiences of the 2020s so far — something its trailer conveys effortlessly.
One such moment is the J-cut 35 seconds in, during which Charlotte Rampling’s character presents Timothée Chalamet with the mysterious Gom Jabbar. Rampling introduces a box and starts talking before she comes into the shot, tightening the tension and upping the intrigue.
The art of the J-cut and L-cut is easy to understand, but difficult to master. Take your time, learn the basics, and practice those transitions. If your cuts need a little boost, either with some sound effects or a specific track, we’ve got you covered.
Our catalog is high-quality, affordable, and safe. An Epidemic Sound subscription goes beyond royalty-free music, removing the headache of licensing and freeing you up to do what you do best.
You can enjoy the safety of our license hand-in-hand with our massive catalog of 50,000 tracks, covering just about every genre you can think of. You’ll also gain unlimited access to our advanced search functions — finding the right sound’s never been easier.
It’s better than royalty-free. It’s worry-free. Get started with Epidemic Sound below.

Related posts: