What is a storyboard and how do you create one?
Learn what storyboards are, how they’re used, and the best programs to use when creating them.

Storyboards are a pre-production essential — they add structure, technical precision, and flare to your content. With a little trial and error, you can get started on your own.
So, let’s get into it. We’ll discuss:
- What is a storyboard?
- Who uses a storyboard?
- What does a storyboard include?
- What are the different types of storyboards?
- What are the best storyboarding software for beginners?
- How to create a storyboard
What is a storyboard?
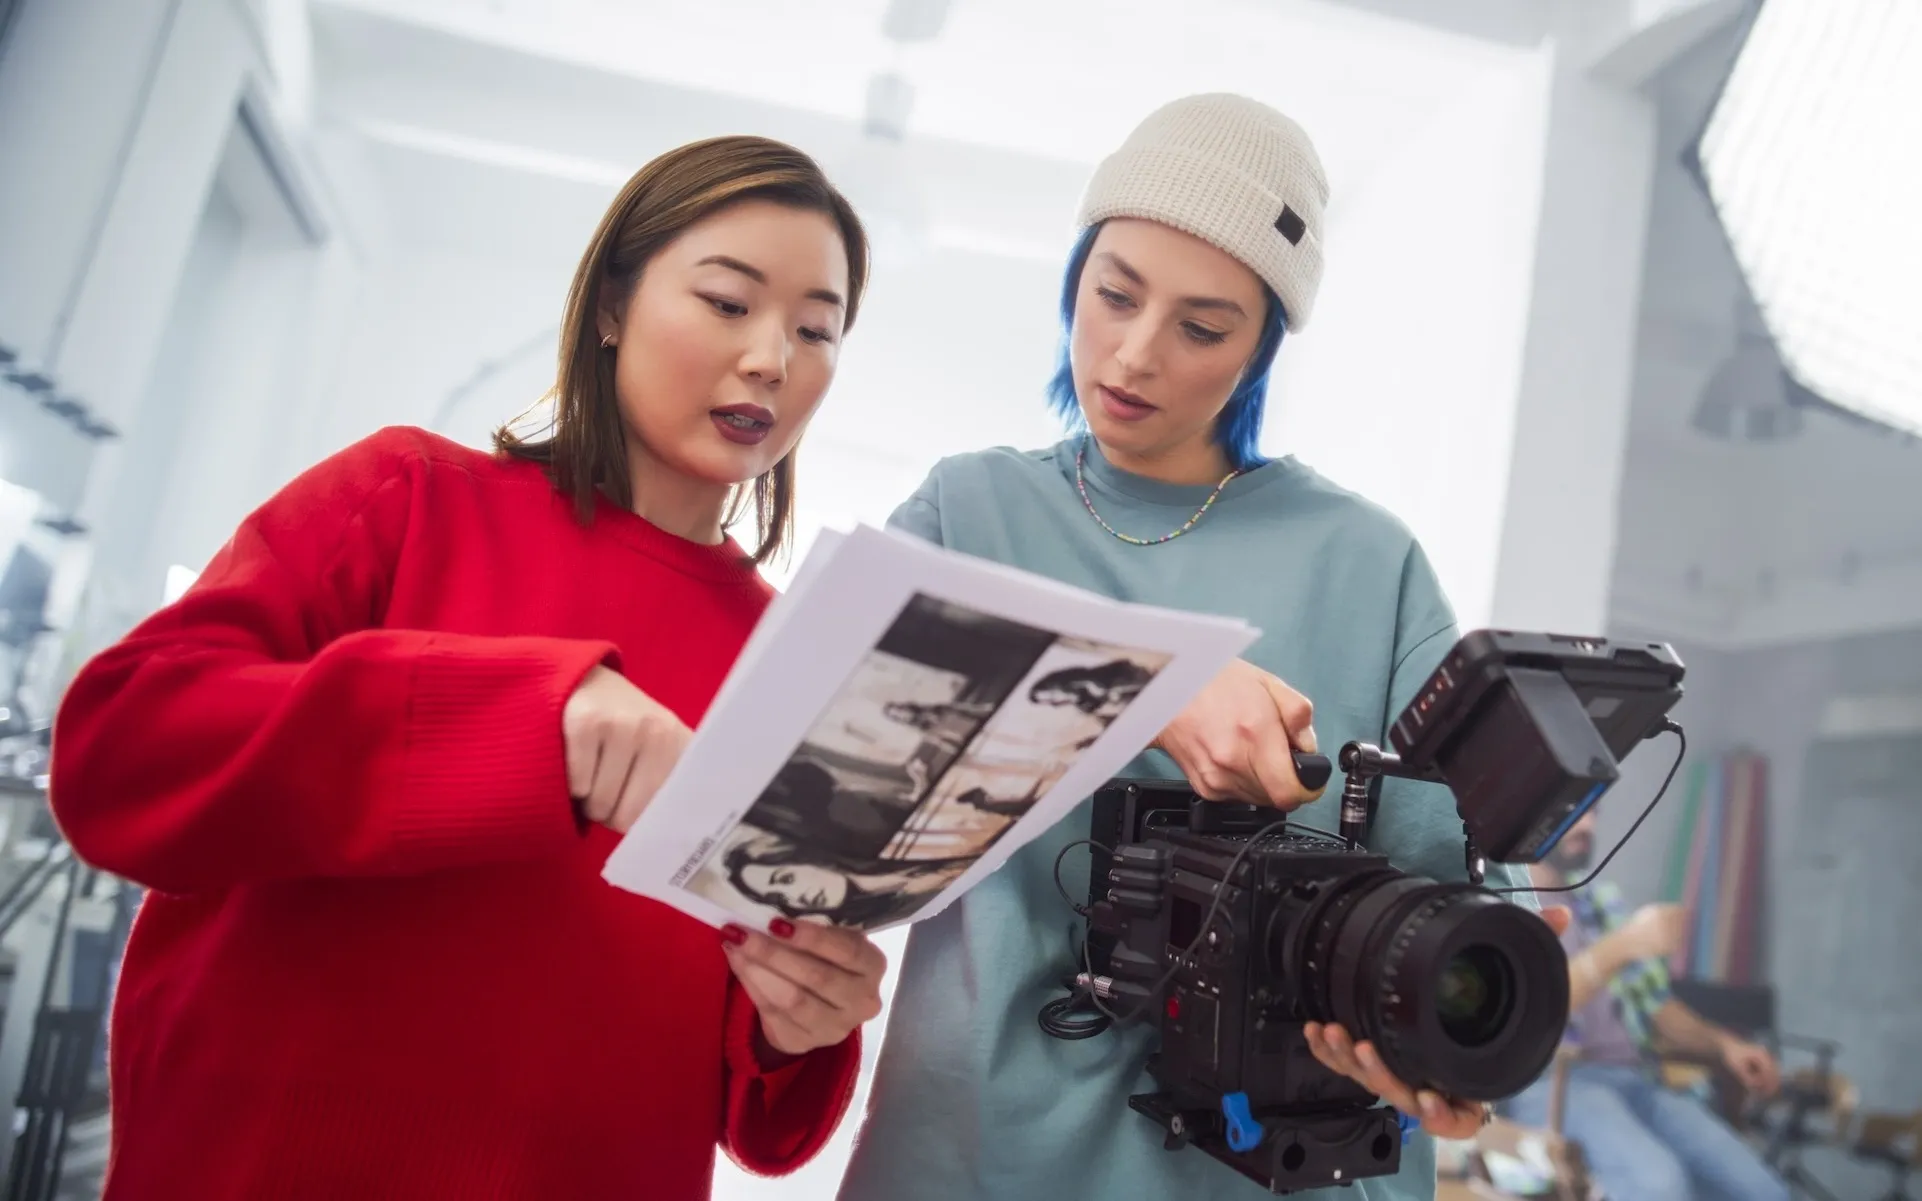
A storyboard is a filmmaking tool that breaks a scene down into shot-by-shot panels, sort of like a comic book. The ideal storyboard shows the scene playing out chronologically, covering details like camera angles, dialogue, camera shots, and more. It’s a vital document used in pre-production everywhere from big-budget movies to small-scale web series, video ads to professional social media content.
Most filmmakers use storyboarding as a visual representation of their production’s script. Paired with a detailed shot list, a storyboard can give crew members the details they need to nail the shot.
Some filmmakers employ storyboards for every single scene, while others only whip them out for more complex staging arrangements. Used properly, storyboards get everyone on the same page, saving time, money, and stress.
Who uses a storyboard?
Not all filmmakers use storyboards all the time, but they’re rarely considered a drawback. Beyond the time- and money-saving aspects during pre-production, storyboards can help get your work financed or green-lit. Pitching a project with a detailed, vibrant storyboard sells your vision to potential stakeholders or collaborators, even if it’s just on a small screen.
What does a storyboard include?
The end product will differ from filmmaker to filmmaker, but there are a few storyboarding basics that most follow. They are:
- Imagery: This is the foundation of most storyboards. The imagery can be quickly doodled in a sketch style, or with well-realized, professionally composed drawings. Photos, reference images, and 3D imagery can also be used — you can even use stick figures, as long as they convey what you need.
- Shot description: This covers any non-technical information about the shot, including action, dialogue, and duration.
- Shot specifications: Here’s where you’d put all the nitty-gritty details like camera lens length, shot type, shot size, shot number, and more.
- Direction arrows: Some filmmakers attach arrows to each of their storyboard panels. They do so to convey how a subject and/or the camera will move to the next shot, and in which direction. This helps a bunch with dynamic, on-the-move techniques like crane or dolly shots.
What are the different types of storyboards?
As we’ve touched on, every storyboard is different — the most important thing is that everyone understands what’s been written. However, there are a few different types of main storyboards. Let’s dig into them.
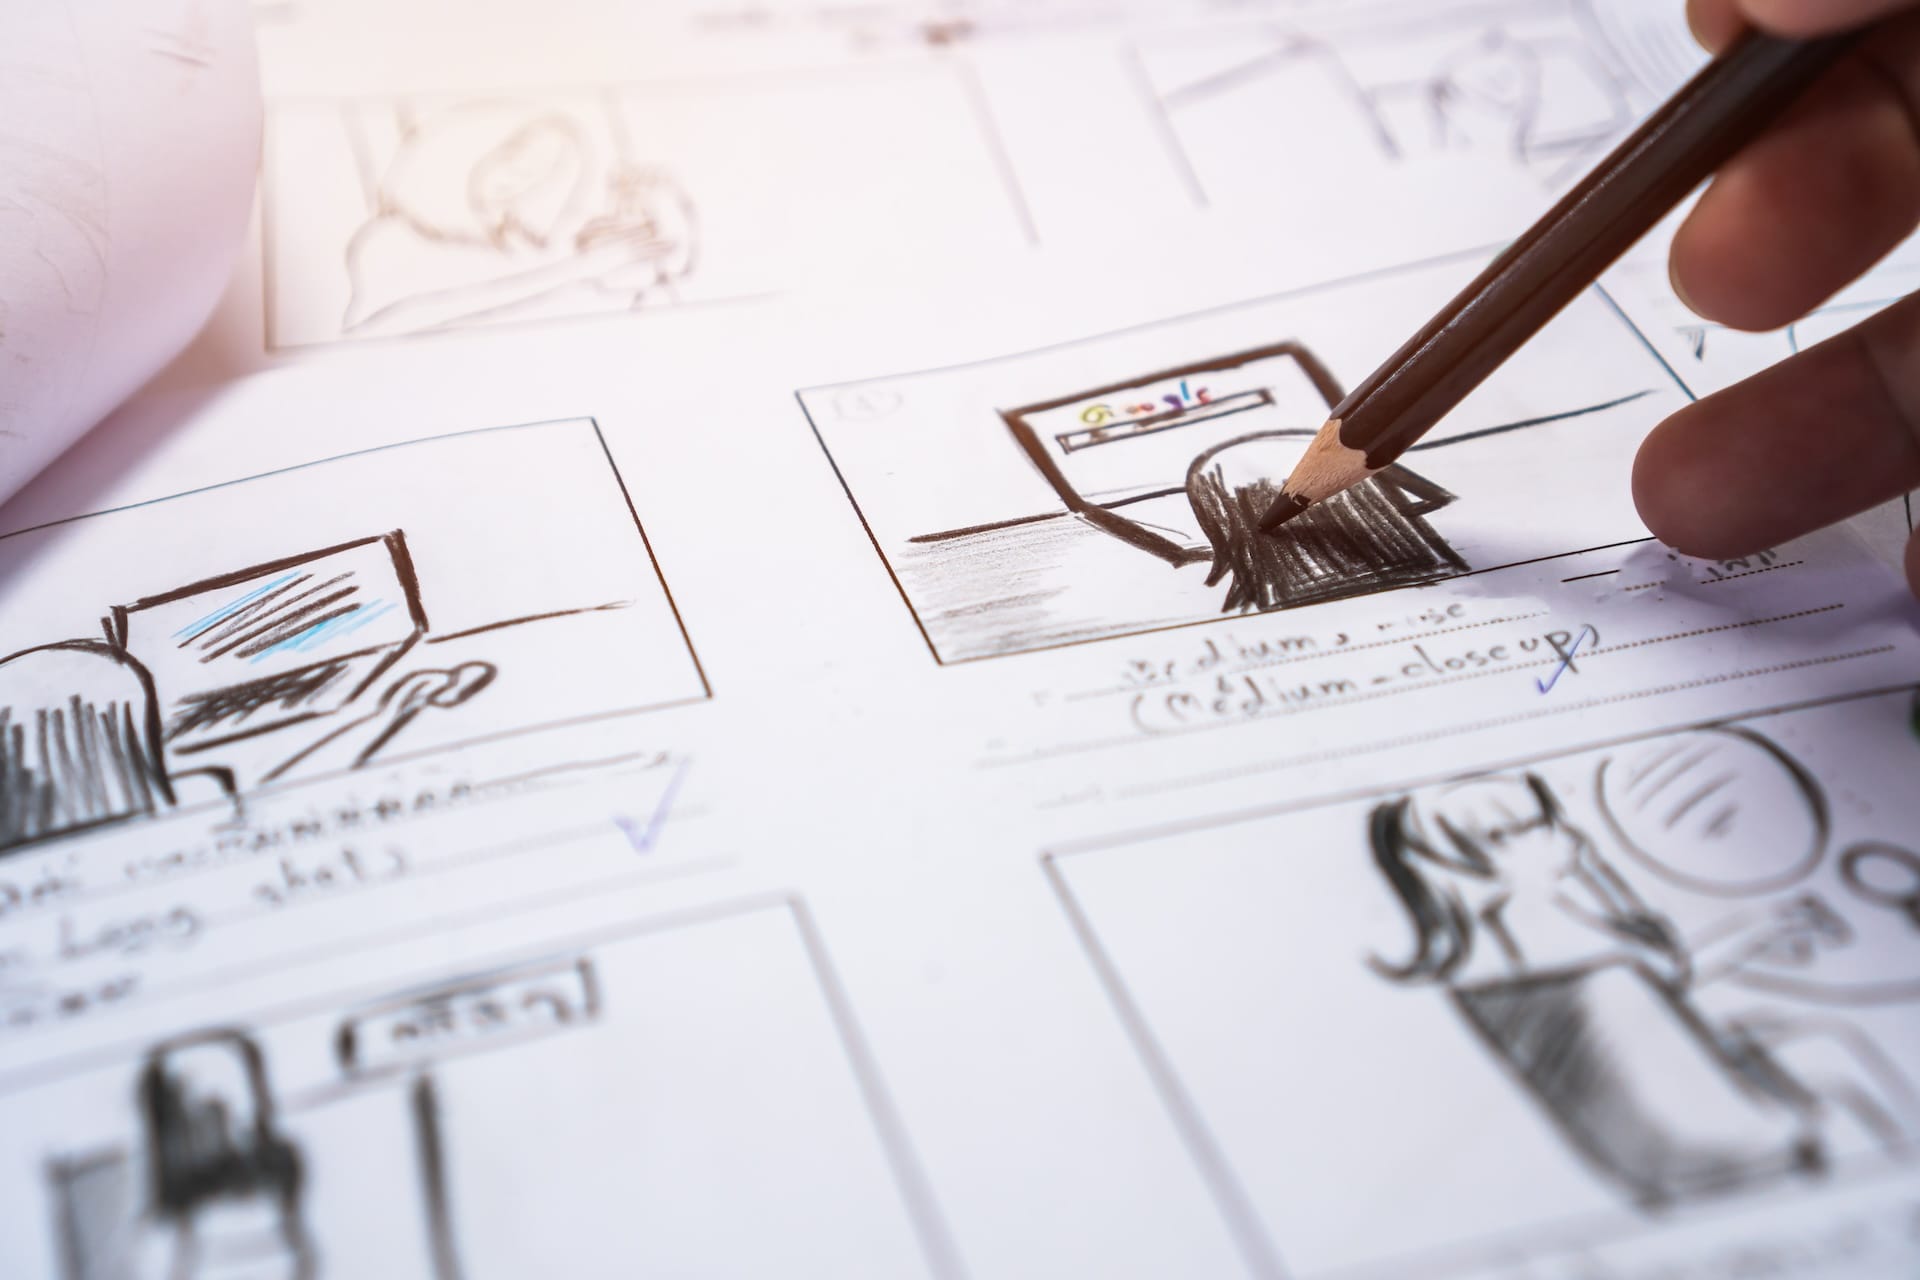
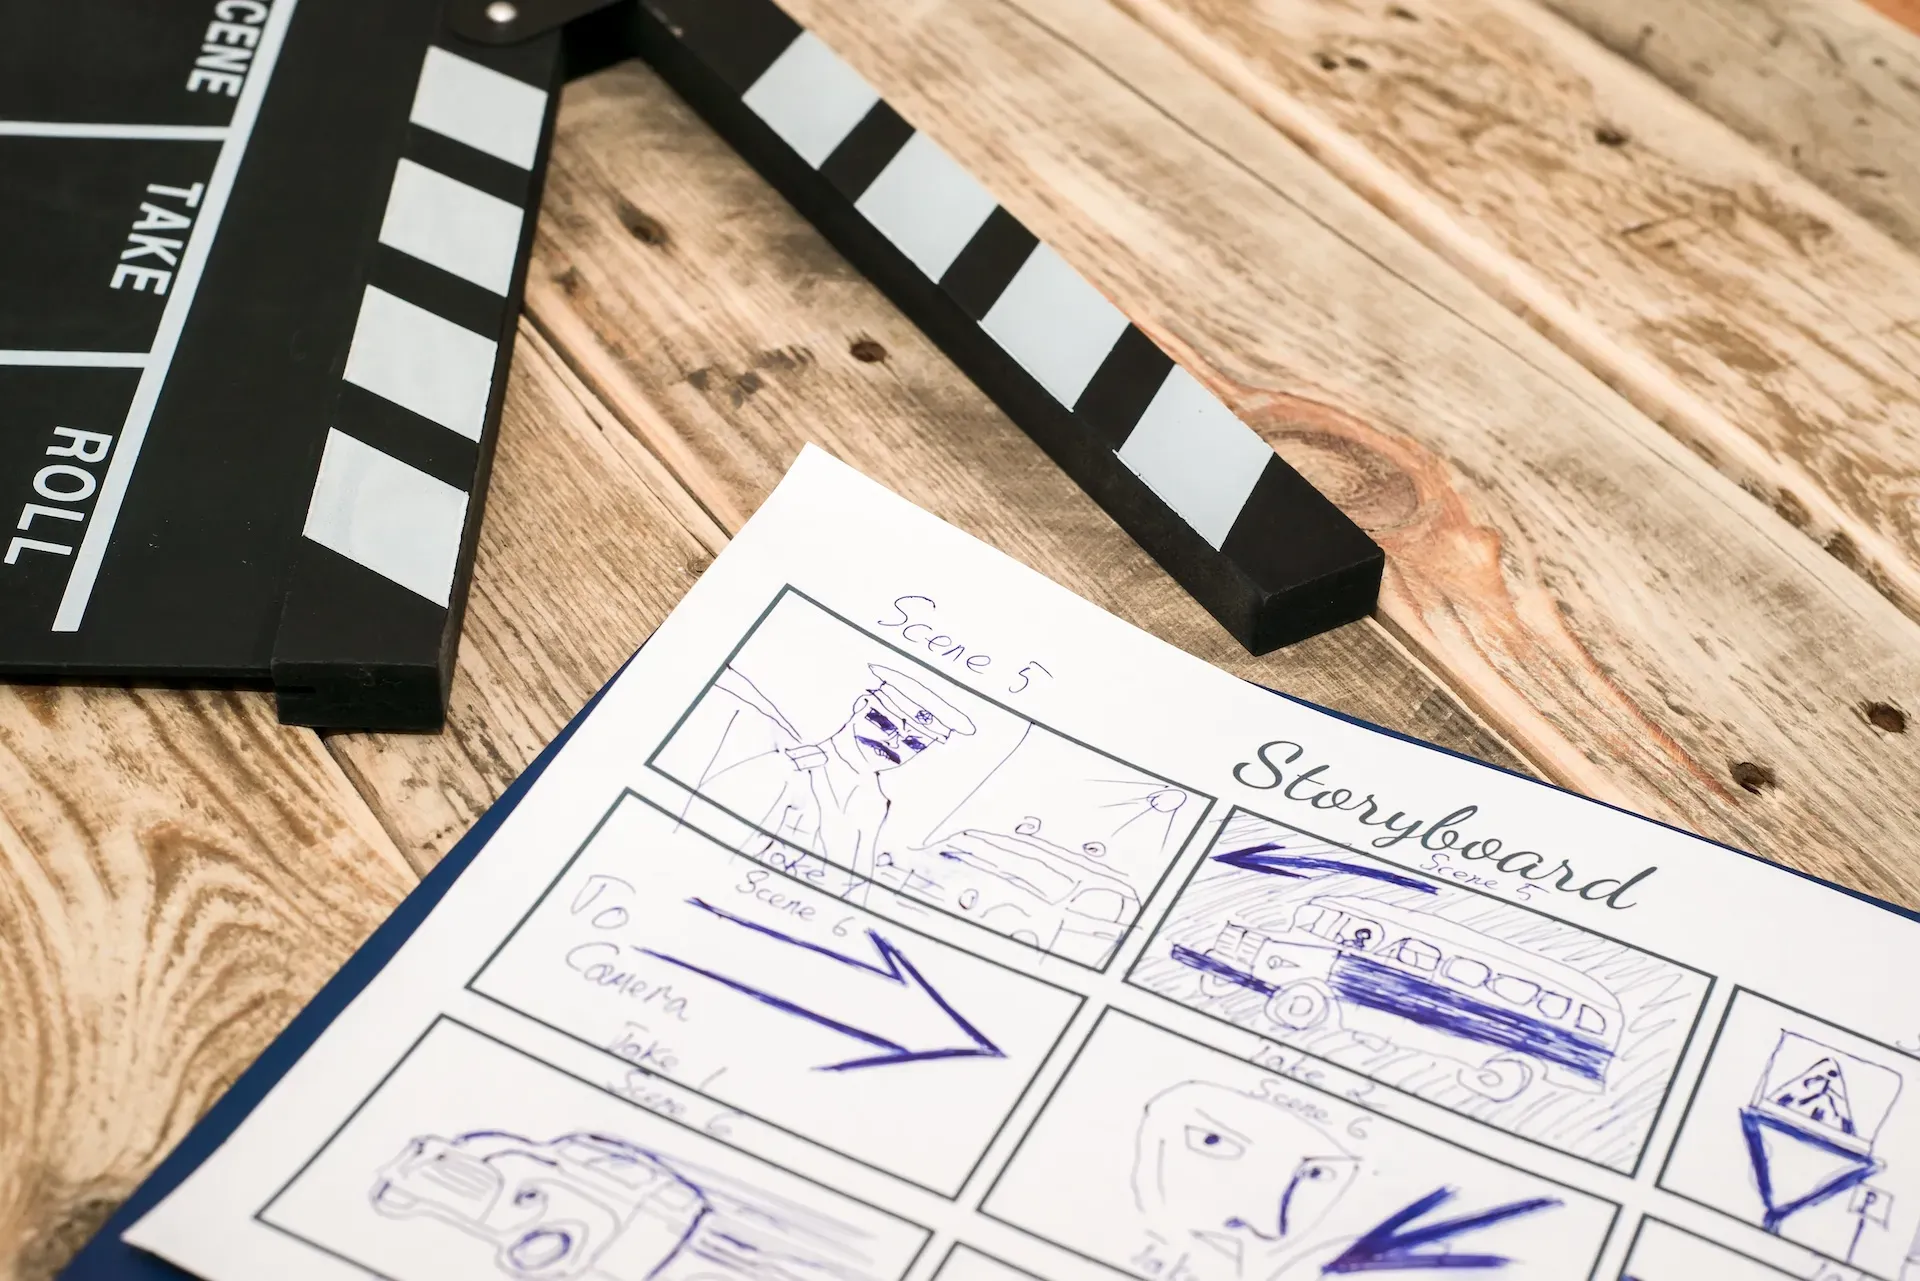
Traditional storyboard
Traditional storyboards are broadly composed of the elements we listed in the previous section. They’re generally quick, pencil-style sketches, capped off with all the juicy info concerning shot specifications, dialogue, arrows for movement, and more.
They don’t always have to include everything and the kitchen sink, though. Ridley Scott storyboarded Alien with a bare-bones approach, sketching key points and describing them in depth. We’ve heard that movie did OK.
Digital storyboard
Digital storyboards are the most common in the industry nowadays. As the name suggests, they’re created digitally, either in a border editing program like Adobe After Effects or Photoshop, or via specialized storyboarding software.
These storyboards are super-versatile, allowing filmmakers to edit on-the-fly if needed. They also allow 3D models and special effects, which makes them ideal for larger, CGI-heavy productions.
Animated storyboard
Animated storyboards take the pencil-ish style of traditional storyboards and, well, animate them. They require extra time and software, but will give your colleagues a more detailed breakdown of a scene’s pacing, key moments, and camera movements. Take a look at this elite-tier example for Toy Story 3.
Written storyboard
Written storyboards cover most of the information you’d find in the above, but without any imagery. Format-wise, they’re similar to shot lists.
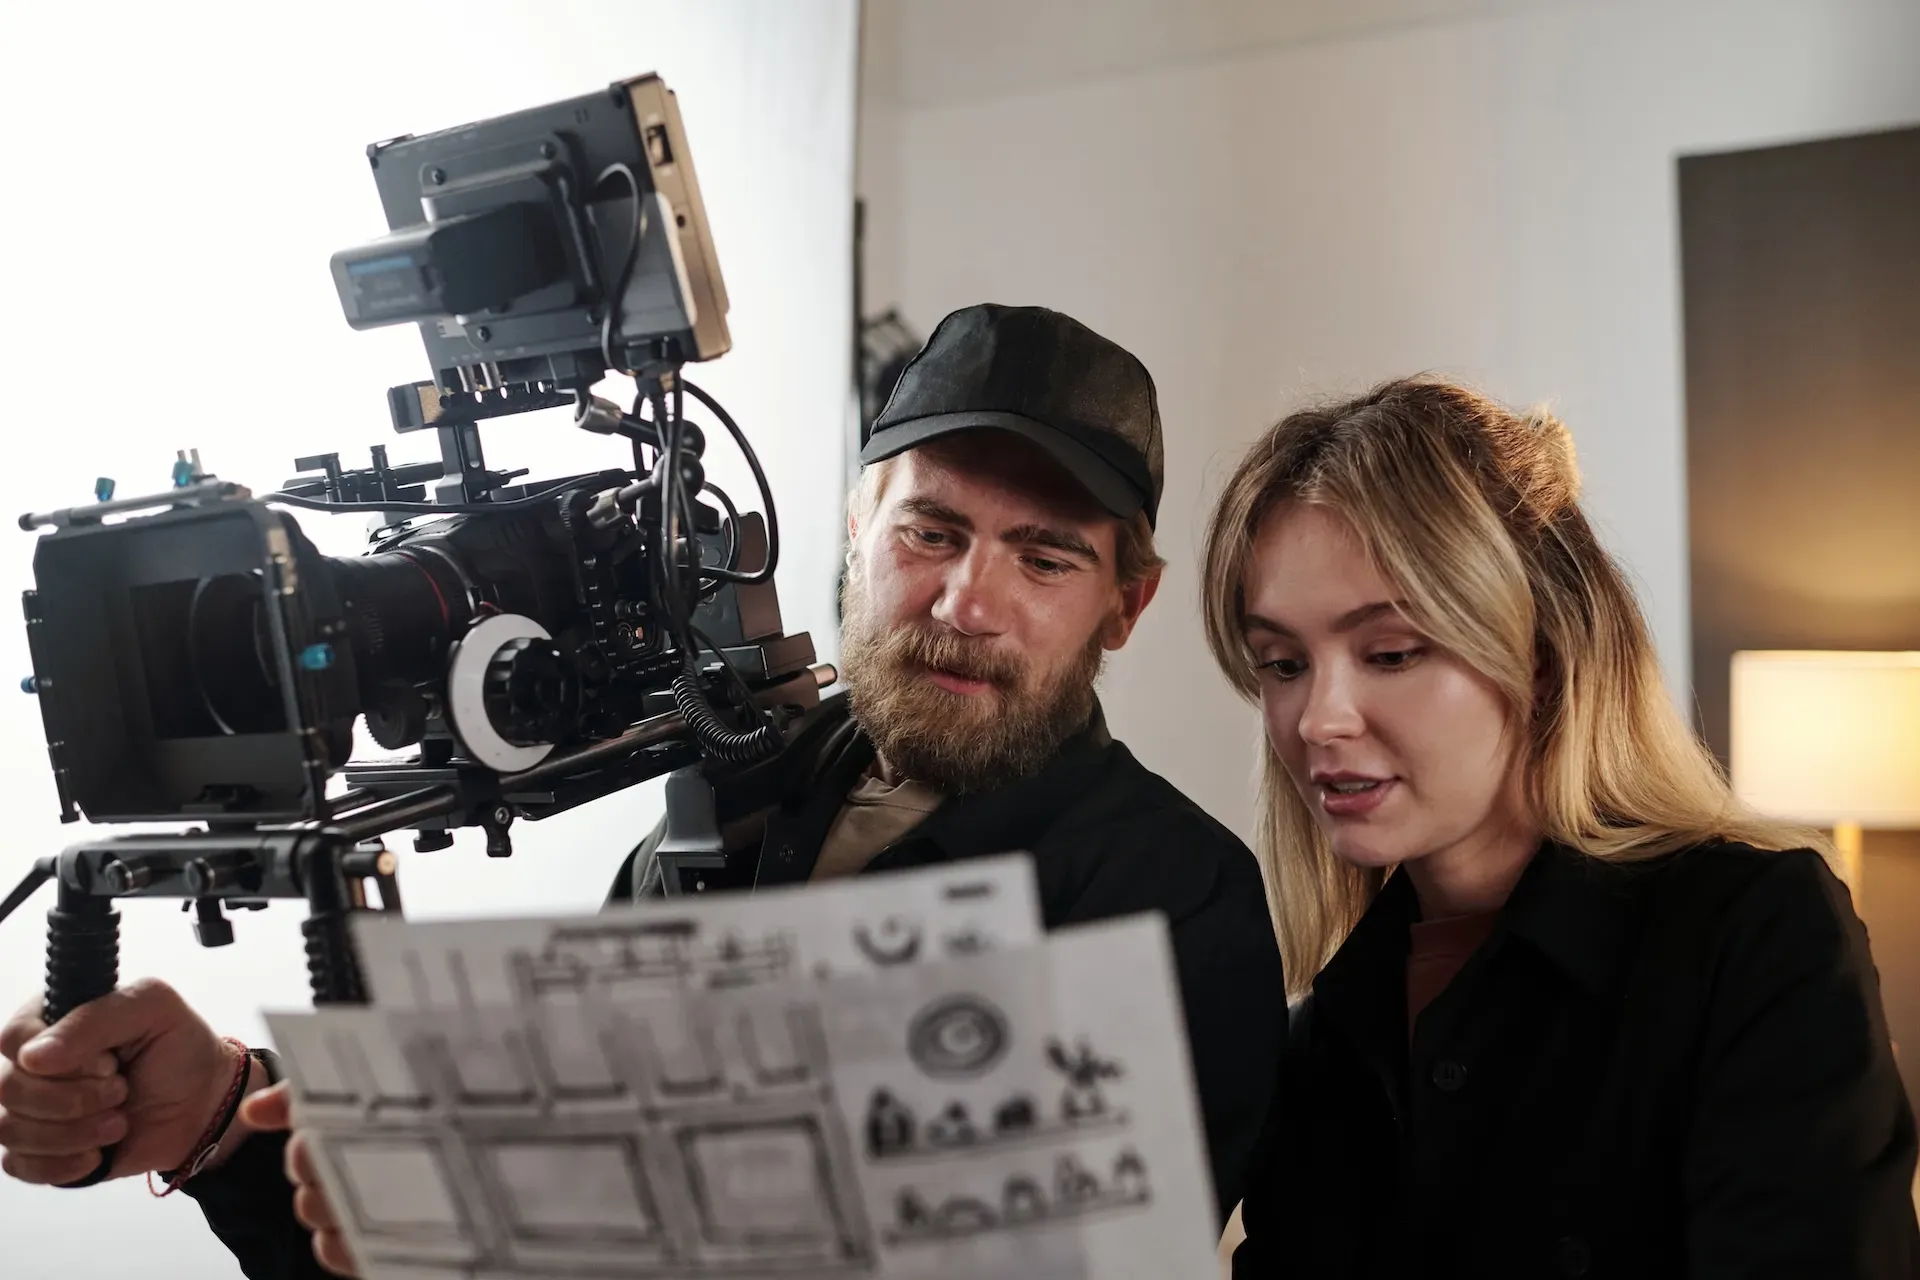
Thumbnail storyboard
Thumbnail storyboards don’t feature any written instructions in the frame. They’re appropriate for smaller projects where everyone is on the same wavelength, but are rarely used on larger productions.
Sketched storyboard
Sketched storyboards are simple, crudely drawn storyboards used to display straightforward shots and actions. They work if you’re blocking something with actors or other members of your team, but aren’t suitable as a final-product storyboard.
Some filmmakers figure out the soundtrack during post-production, but the best know what they want to use in advance — you can’t argue with 2001: A Space Odyssey. Check out our catalog of more than 50,000 tracks below and find the perfect match today.
What are the best storyboarding software for beginners?
While programs like After Effects and Photoshop can produce pro-level storyboards, you might have to fiddle around to find all of the extras you’re looking for. Luckily, there are plenty of user-friendly storyboarding software out there, designed to plot your content into lovely, neat panels. Here are three of our highlights.
Storyboard That
Storyboard That has a lot going for it: it’s unbelievably user-friendly, operating on a drag-and-drop basis. This is isn’t made for high-level, professional productions, but is great for low-key projects, or for people who may struggle with more technical apps and software.
Bursting with thousands of images, infographics, speech bubbles, and more, Storyboard That is a comfy fit for first-timers. The free plan is watermarked and offers limited panels and effects, but you can grab the unlimited, watermark-free version starting at $9.99 per month.
Studiobinder
Studiobinder comes in a bit pricier, starting at $29 per month — there is a free plan, but it’s limited to one project. This is more than just a storyboarding program, covering shot lists, call sheets, shooting schedules, script breakdowns, and more.
Its storyboarding function is pretty exhaustive, with tons of templates if you’re struggling to get started. Studiobinder’s used by household names like Cartoon Network, BuzzFeed, and Lionsgate, so it’ll probably cut the mustard for your project.
ShotPro
ShotPro’s noteworthy because it’s available on both mobile and desktop. The mobile version can be purchased for a one-time $39.99 payment, while the desktop software costs $25 per month. The mobile version is worth exploring, if only for its game-changing facial motion-capture tool.
Once you settle into ShotPro’s gentle learning curve, you’ll love its super-detailed 2D and 3D animated storyboarding capabilities — it even supports AI-based features like text-to-speech. Like Studiobinder, it’s been used by high-profile studios to plan scenes for shows like Black Sails, Fear the Walking Dead, and Power.

How to create a storyboard
Now that you know what a storyboard is, what the different types look like, and which software is the best for beginners, let’s walk through how to create one.
Our storyboard tutorial is condensed into five steps, and is universal. You can follow these points whether you’re scribbling notes on an old pad of paper or using top-range software.
1. Decide how to present your panels
Panel presentation depends on what kind of storyboard you create. If you’re going for a slimmed-down, basic storyboard, you can probably fit ten or even twelve panels on each page. However, a more detailed storyboard would benefit from around two to four panels per page.
As a rule of thumb, the more professional or ‘high-level’ the project, the fewer panels per page. If you were pitching a project and trying to land seven-figure funding, you’d want to dazzle potential investors with one or two panels per page. If you’re creating a student film or professional online content for your own channel, the storyboard’s X-factor is less important.
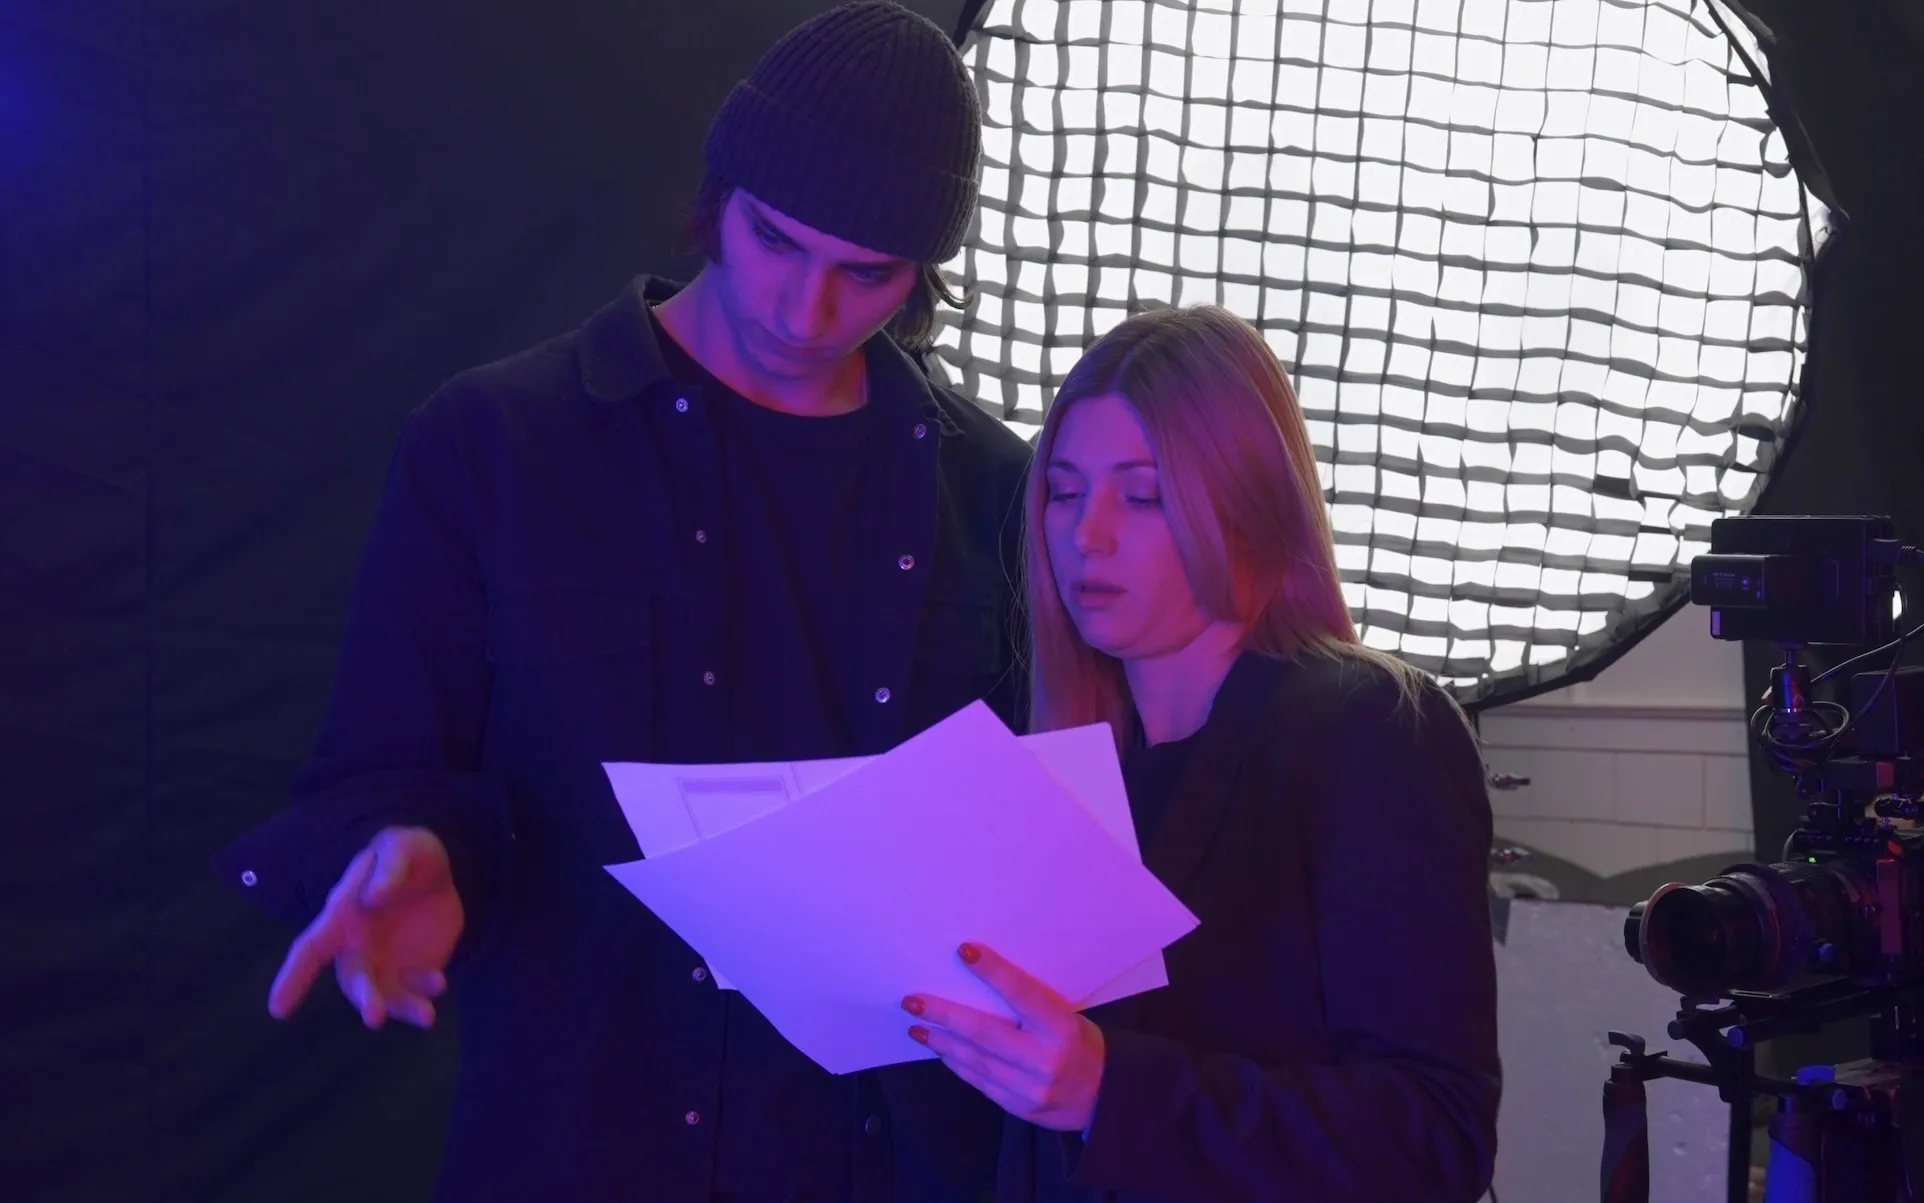
2. Read the script, then read it again
You’ve probably read the script already, but it pays to analyze it in painstaking, full-nerd detail. What are you trying to achieve with each scene, and are there any nuances you might have missed on your first read? Revisiting the script will strengthen your shot list, expand your knowledge of the story, and give your storyboard more life.
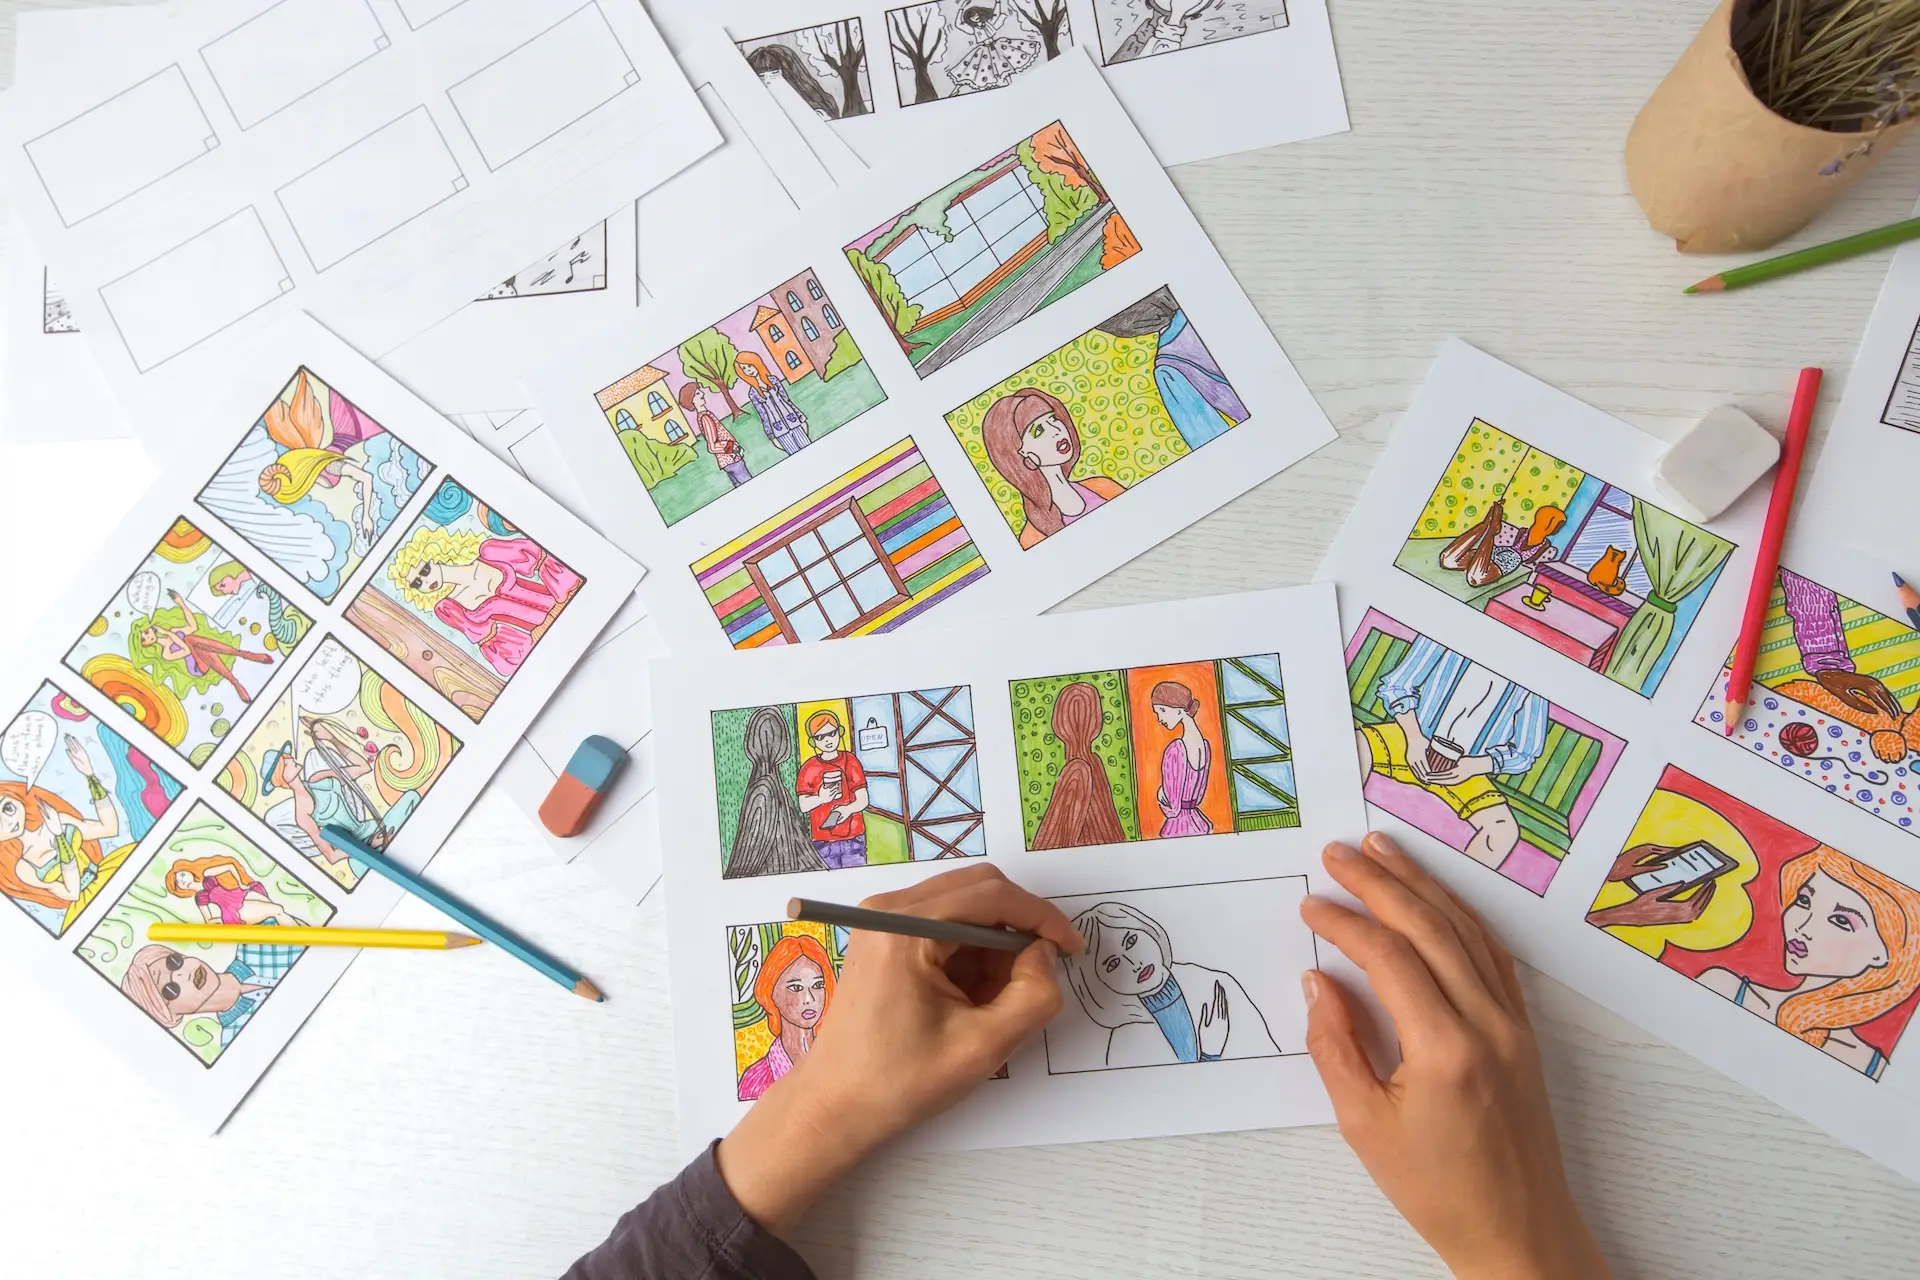
3. Create your images
Here’s the fun part! Compiling a storyboard is a creative process as much as it is practical — get playful with it. If you’ve opted for good-quality software, go wild with your mock-ups, and don’t forget to check out stock imagery if needed.
If you already know the specifics like the shot type or angle, go ahead and convey it in your imagery. This will make it even easier for others to understand your storyboard at a glance.
4. Place your arrows
As we touched on earlier, storyboards often use arrows to show movement. They can be placed within, above, below, and beside your panels, showing how the subject or camera moves within the frame, and how they enter the next.
It’s tempting to litter your panels with arrows, but remember the point of storyboards: to provide clarity. Adding too many arrows may clutter your storyboard and make it more confusing than clear. If you’re editing digitally, it’ll be easy enough to remove or reposition arrows if they become too messy.
5. Add the rest of your details
Shot types, shot numbers, movement, shutter speed, props, specific lighting requirements — this is your chance to pack all of that info into the storyboard. Like with the arrows, you’ll need to experiment with how much to include before it gets too complex.
Now that you’ve filled in the descriptions, it’s time to review your storyboard, share it with collaborators, and make any changes based on feedback. Once you’ve reached a place where everyone is broadly happy with, you can start shooting your content!
Once it’s done and dusted, your storyboard will provide direction on-set. It’s a source of truth, inspiration, and vibes all rolled into one.
If you want to inject your production with a little more of that special sauce, don’t forget about the music. After all, the soundtrack can make or break your content — why let one needle-drop derail your project? Epidemic Sound’s got you covered.
Our catalog is high-quality, affordable, and safe. An Epidemic Sound subscription goes beyond royalty-free music, removing the headache of licensing and freeing you up to do what you do best. You can enjoy the safety of our license hand-in-hand with our massive catalog of 50,000 tracks, covering just about every genre you can think of. You’ll also gain unlimited access to our advanced search functions — finding the right sound’s never been easier.

Are you a filmmaker? We've got you covered with background music for videos, including:
Take your video editing to the next level with our massive catalog of music for filmmakers.