How to make a great unboxing video: 20 top tips
Unboxing videos are big business these days — everyone from established brands to influencers are in on the trend. Learn how to make a great unboxing video with our 20 top tips.
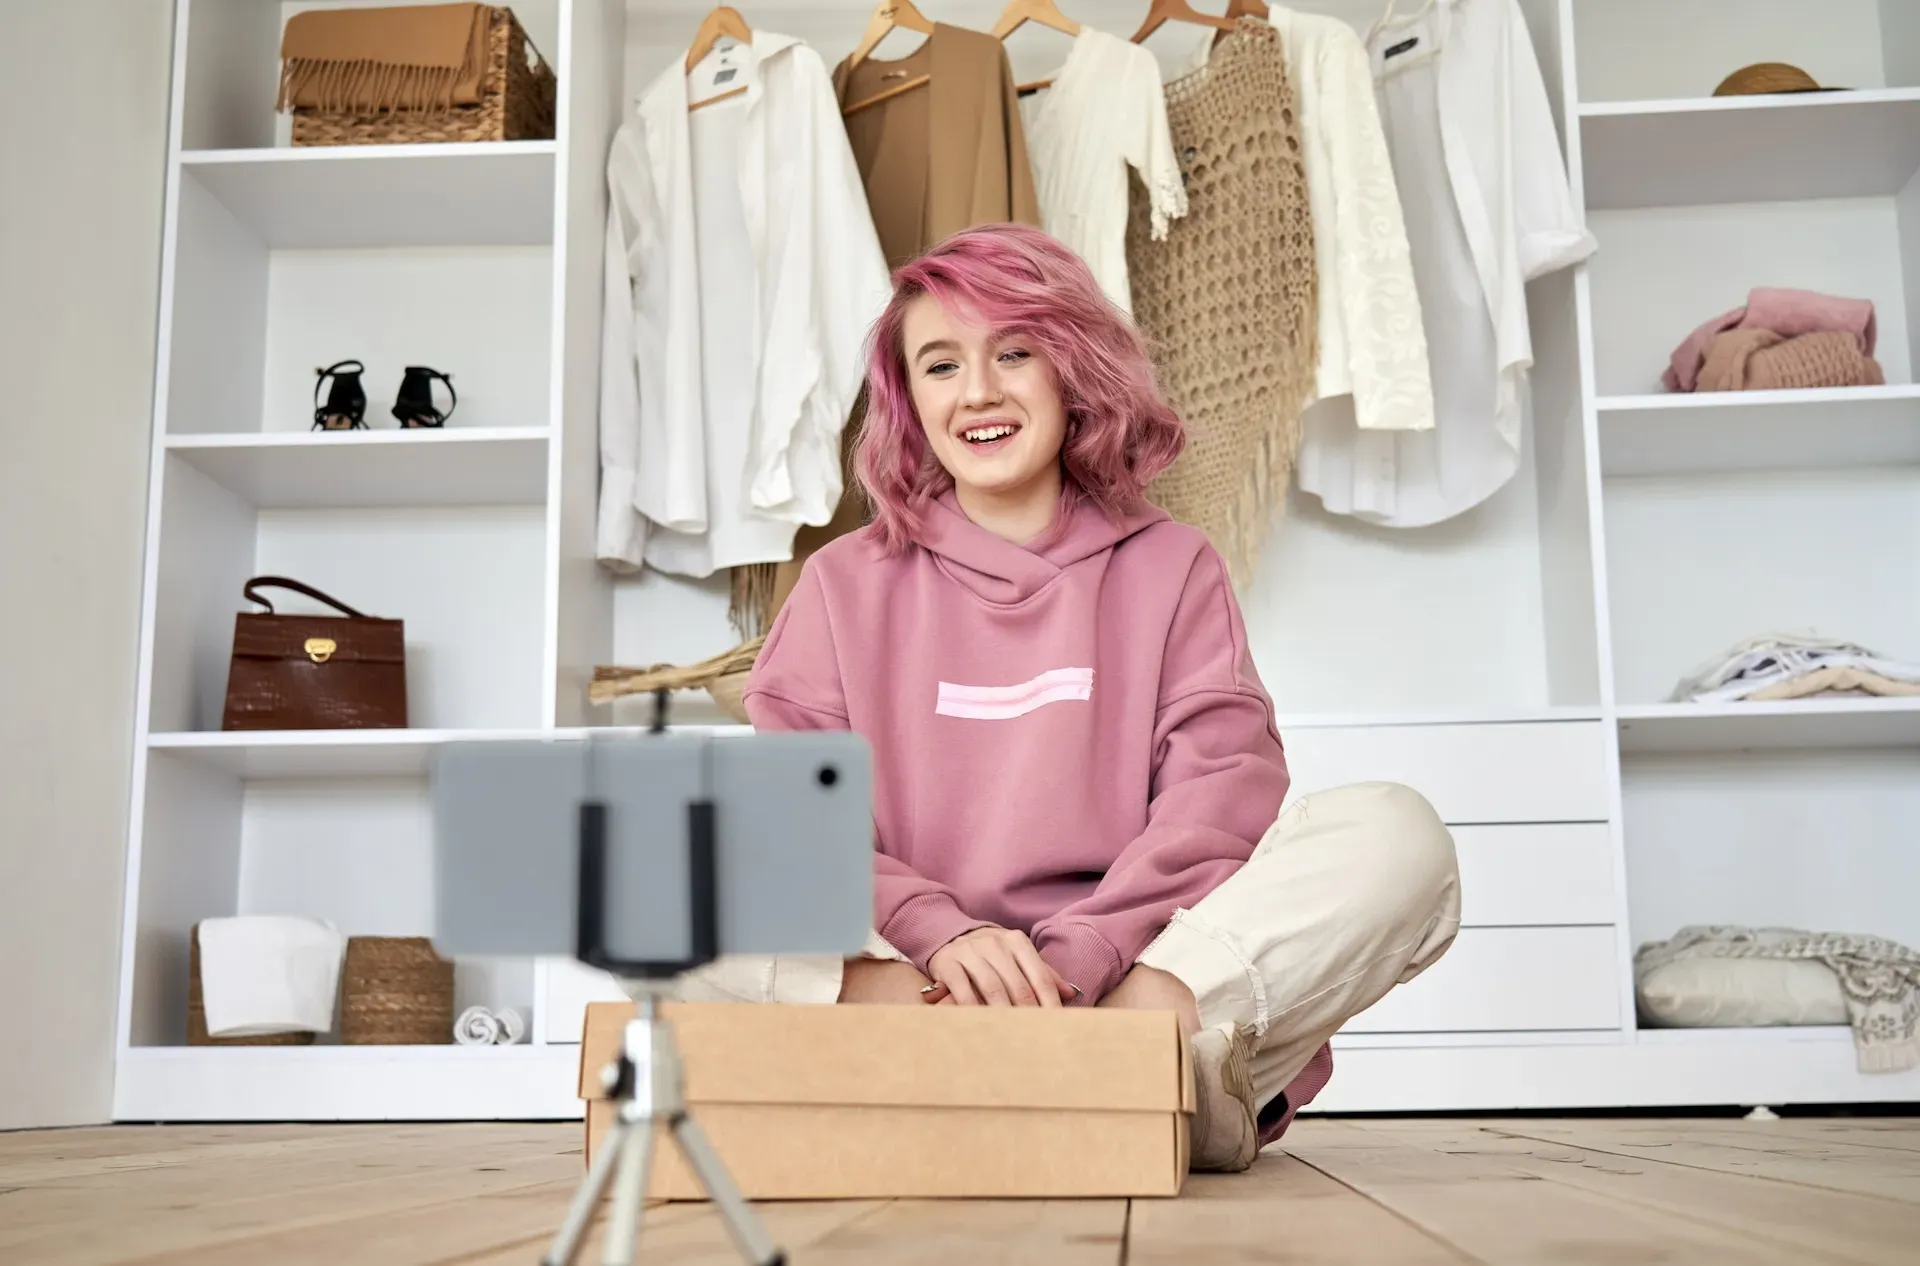
Unboxing videos are more than nice-to-haves — they can boost your brand or establish your footprint as an influencer.
But what separates a good unboxing video from a great one? Let’s run through 20 top tips for nailing your next unboxing video.
We’ll cover:
- Write a script
- Find the right camera
- Pick the gear for the job
- Fix the lighting
- Think about your background
- Use the right microphone
- Optimize the room’s sound
- Find the perfect soundtrack
- Keep up with trends
- Record in landscape…or don’t
- Reveal the product name as it enters the frame
- Show the product doing its thing
- Short and sweet is a treat
- …but don’t rush your speech
- Find the right video editing software
- Consider different cuts and effects
- Experiment with cutaways
- What can you delete?
- Add subtitles
- End on a hero shot
1. Write a script
You can usually get away with off-the-cuff takes for reaction videos, but you should have at least an outline for your unboxing video. Even if you just bookend it with a short intro and call to action, a video script will give your content a more structured, professional sheen.

2. Find the right camera
Most cameras are good, but are all good cameras right? Not exactly. Like most of the other gear and accessories we’ll cover today, one person’s trash is another’s treasure.
You can probably discount action cameras like GoPros — those aside, most of the camera selection process boils down to personal preference and what kind of content you’re shooting. Check out our camera buying guide here, do your research, and consult outside experts if you’re still unsure.
3. Pick the gear for the job
You probably don’t need everything, but it’s worth making a checklist of extras. Depending on your circumstances, you’ll need a tripod, or at least a gimbal. Extra camera lenses, cages, and external monitors are all handy accessories you might need to nail the shot.
4. Fix the lighting
Depending on where you’re shooting, natural lighting might cut the mustard. Most of the time, though, you’ll need some more juice. Will a ring light suffice, or should you invest in extra key lights?
Discuss your needs and budget with your team, arrange a test shoot, and see what works. A lot of things on this list can be improved, learned, or hacked, but good lighting is essential for unboxing videos — if people can’t see what you’re unboxing, you’ll need to go back to the drawing board.
5. Think about your background
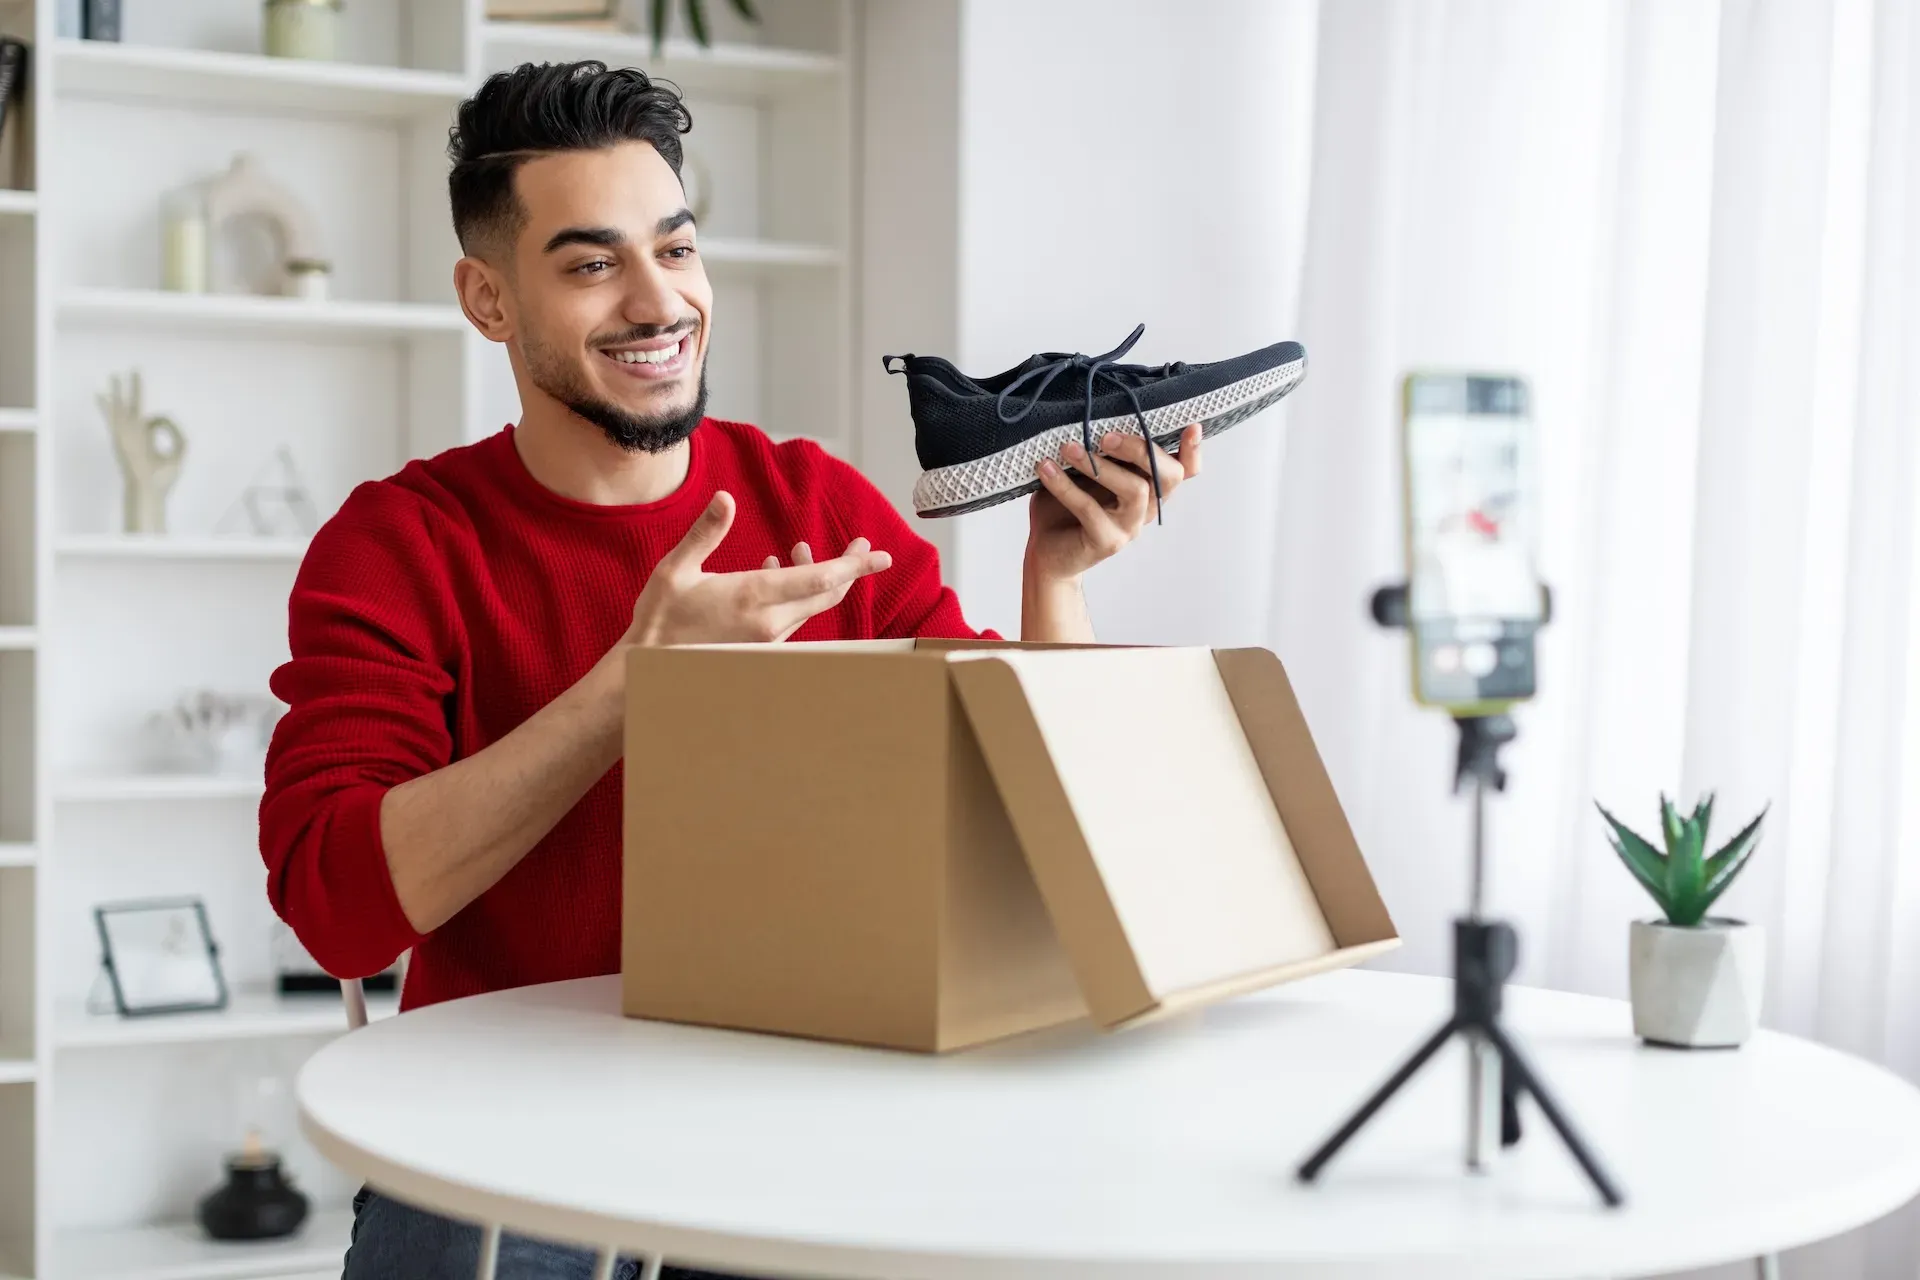
Backgrounds might seem like…well, background information, but they help set the scene. Should your unboxing video take place in a branded environment, in your offices, or somewhere completely unrelated?
Think about what vibe you’d like to convey, and if a corporate setting is suitable for the content. If you can’t find somewhere adequate, it might be best to film with a green screen, then chroma-key yourself into a setting during post-production.
6. Use the right microphone
The right microphone can make the difference between a good unboxing video and a great one. Think of the different pickup patterns, and the areas in which your chosen mic excels.
Will all the unboxing action interfere with your speech, or will it not be captured enough? Do you need two mics: a lav mic for you, and a super-sensitive cardioid for the box? Consider how much noise you want coming from the item vs. speech and other audio — if you use multiple microphones, you can always adjust the mix in post-production.
7. Optimize the room’s sound
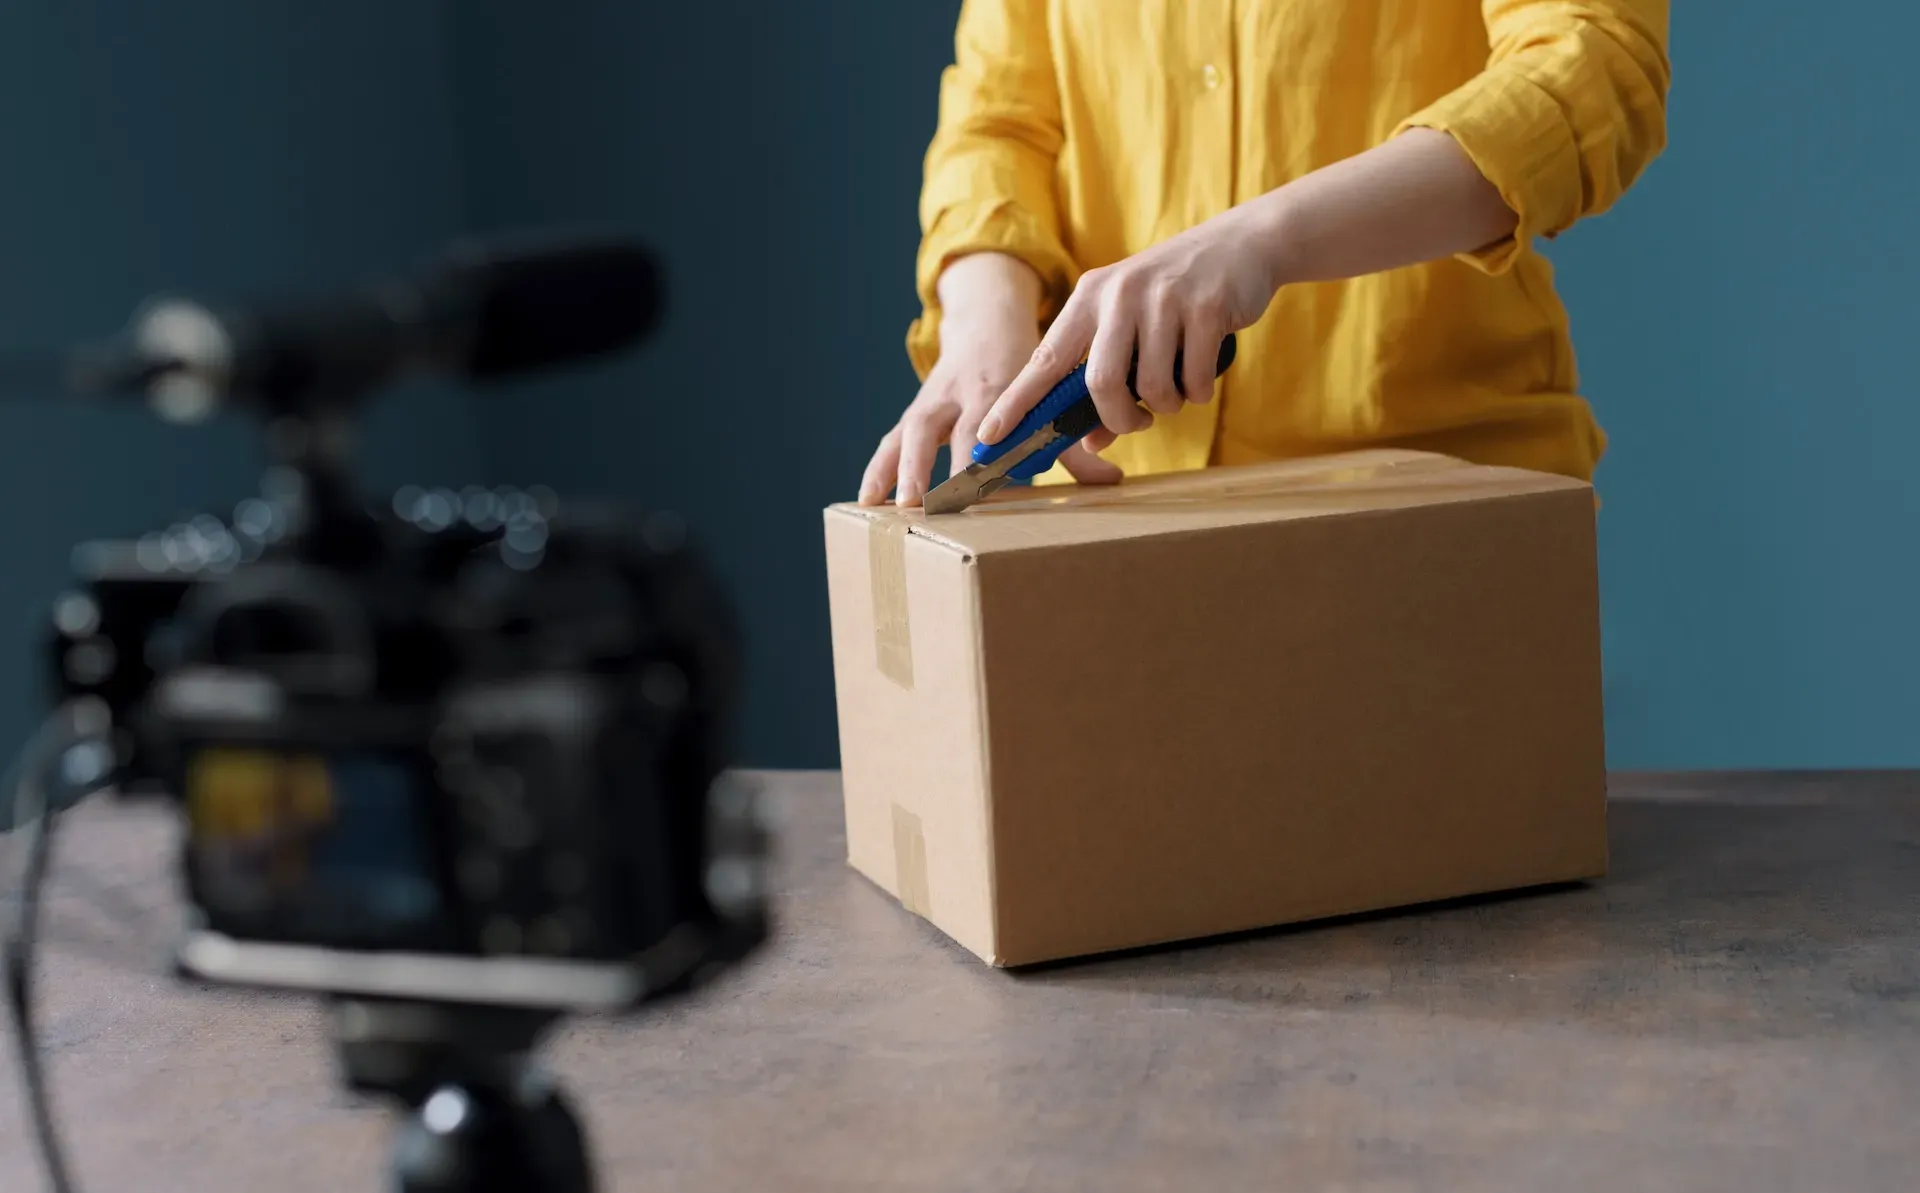
The right microphone is a solid start, but a bad-sounding room could scupper all of your hard work. Do some test recordings and see how the acoustics hold up. If you’re in a large, empty room, you might experience some echo — try padding the walls with cushions or blankets to soften the reverberations and create a more natural sound.
8. Find the perfect soundtrack
Unboxing yoga equipment might not be so chilled with Finnish death metal roaring in the background, nor an action figure reveal backed by acoustic indie. The soundtrack can make or break your content, so why settle for second-best?
Check out Epidemic Sound’s catalog of more than 50,000 top-tier tracks below, and find the perfect soundtrack today. We even have a playlist packed with unboxing music!

9. Keep up with trends
Take stock of what other businesses and influencers do in their unboxing videos. Who are brands partnering with? How are they presenting the content?
You could even leverage wider online trends toward your unboxing video needs. Take something like ASMR: it’s an evergreen, ever-changing trend, taking hold in the 2010s and not letting go. That could work a treat for an unboxing video, given all the crinkly paper and squeaky plastic.
10. Record in landscape…or don’t
If you’re recording a long-form unboxing video, stick with landscape — it’ll look better on platforms like YouTube. However, if you’re filming short-form content for vertical platforms like TikTok and YouTube Shorts, switch to portrait.
11. Reveal the product name as it enters the frame
On social media, attention’s to be grabbed, not nurtured — you just don’t have the time. Introduce the product verbally and physically, either holding up the box or cutting to a hero shot. If people stumble across your video while scrolling, the early product reveal immediately tells them what you’re offering.
12. Show the product doing its thing
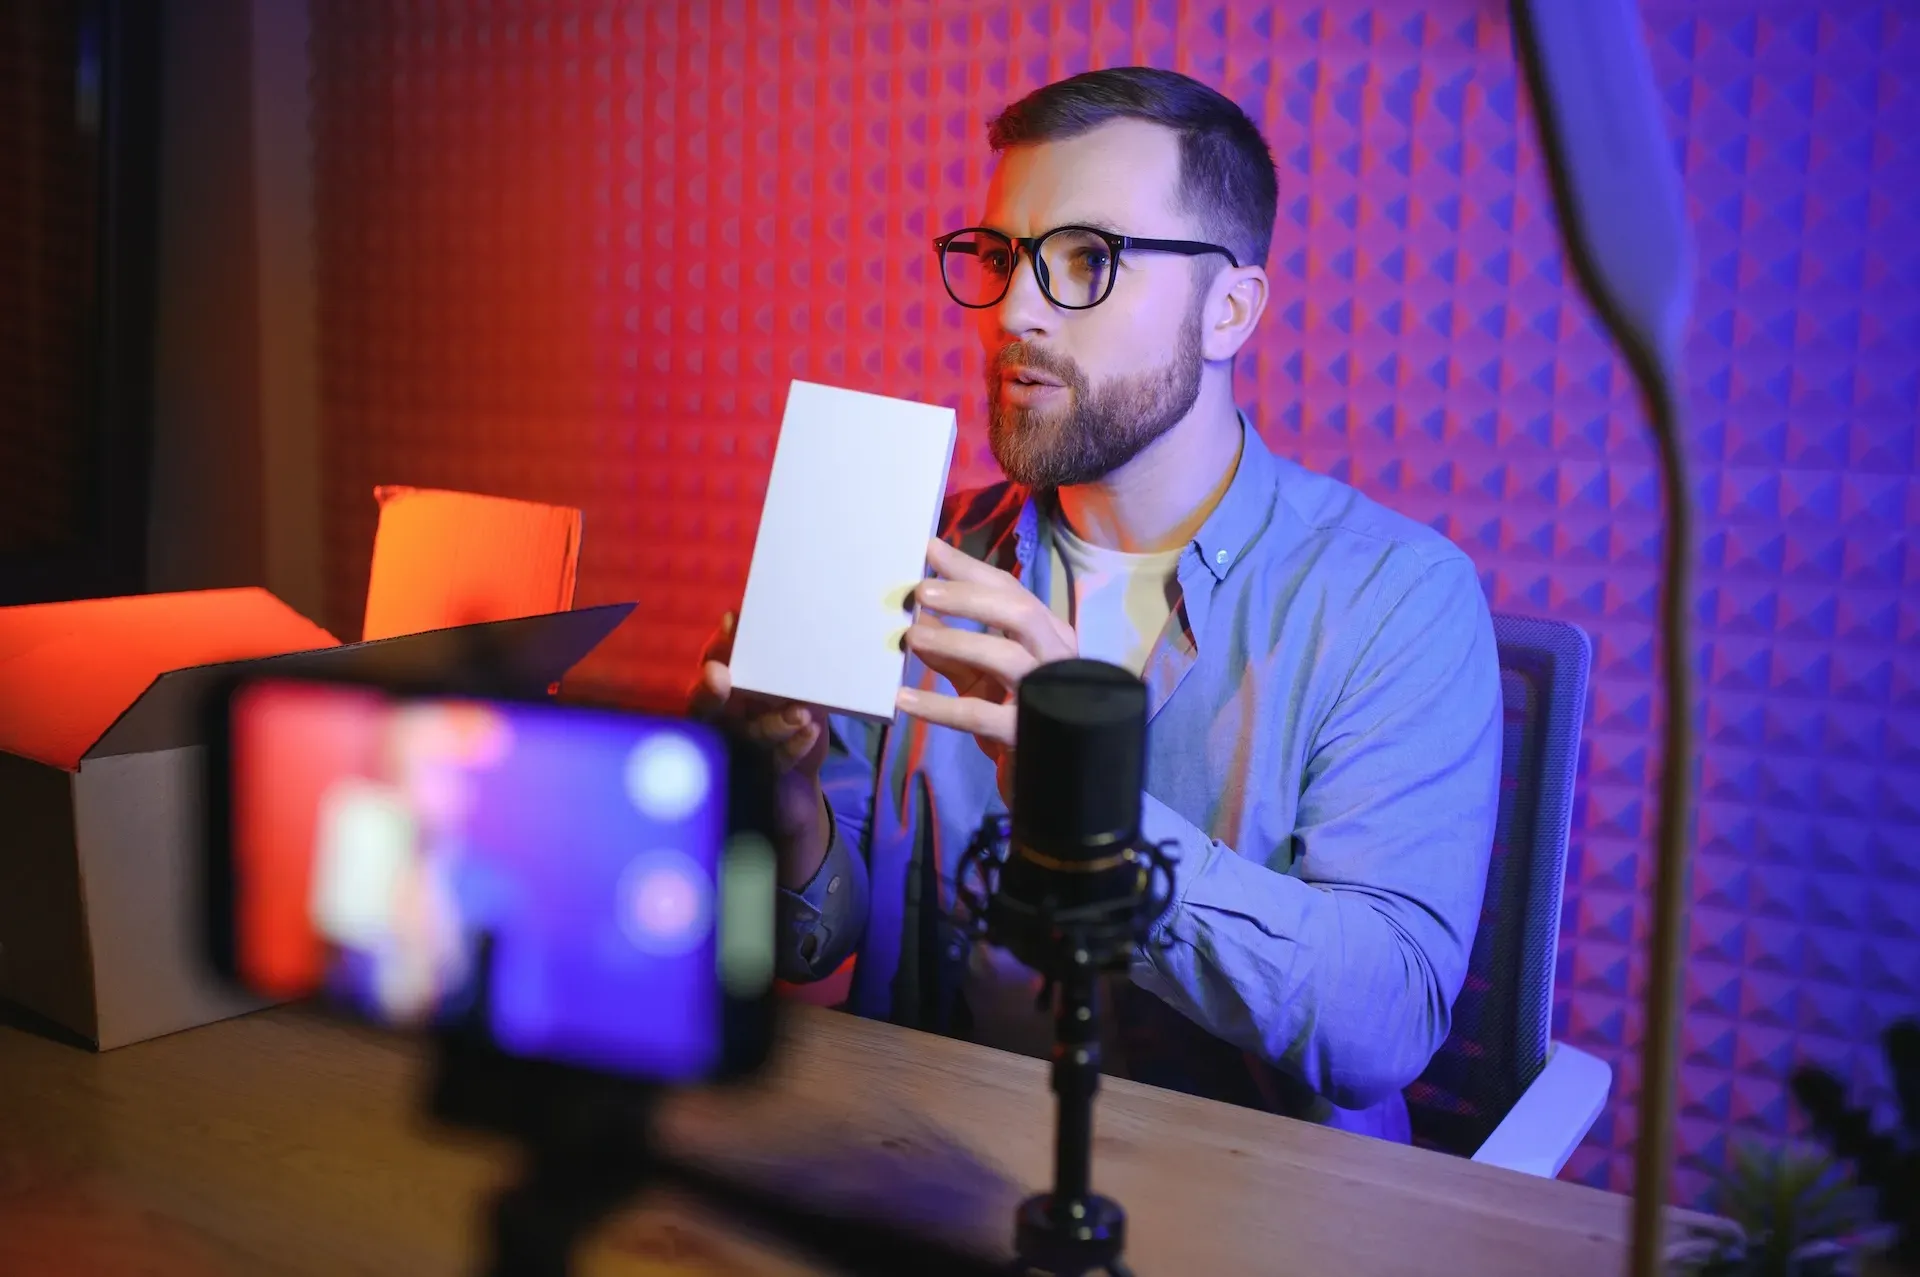
You’ve talked the talk and unboxed the product — now it’s time to walk the walk. We’re not saying you have to give an in-depth tutorial or review, but if people are watching an unboxing video, they’re probably interested in the product itself. Strut around in those sneakers, suck up some dog hair with that vacuum cleaner, slap that cleansing mask on — give the viewer a payoff.
13. Short and sweet is a treat
If the product you’re unboxing requires a specific intro or extra detail, feel free to explain. However, there’s a balance to strike: inform viewers, but don’t give them a word-by-word recital of the instruction manual.
Ideally, anywhere between five and ten minutes is a decent length for an unboxing video. That gives you enough time to introduce the product, give further context, unbox it, demonstrate if necessary, then wrap everything up.
14. …but don’t rush your speech
Even if you’re using subtitles — which we’ll discuss in a minute — your unboxing video needs to be delivered clearly and at a steady pace. If you don’t think you’re the right person to present the unboxing video, there’s no shame in that. See if anyone else on your team can perform in front of the camera, and if not, do you have the budget and/or contacts to hire an actor or influencer to do it for you?
15. Find the right video editing software
Most video editing software will perform basic functions — those might work for what you have in mind. If you’re after something more advanced, though, you’ll have to start looking at paid-for, professional software. Check out our list of the best video editing software for every skill level.
16. Consider different cuts and effects
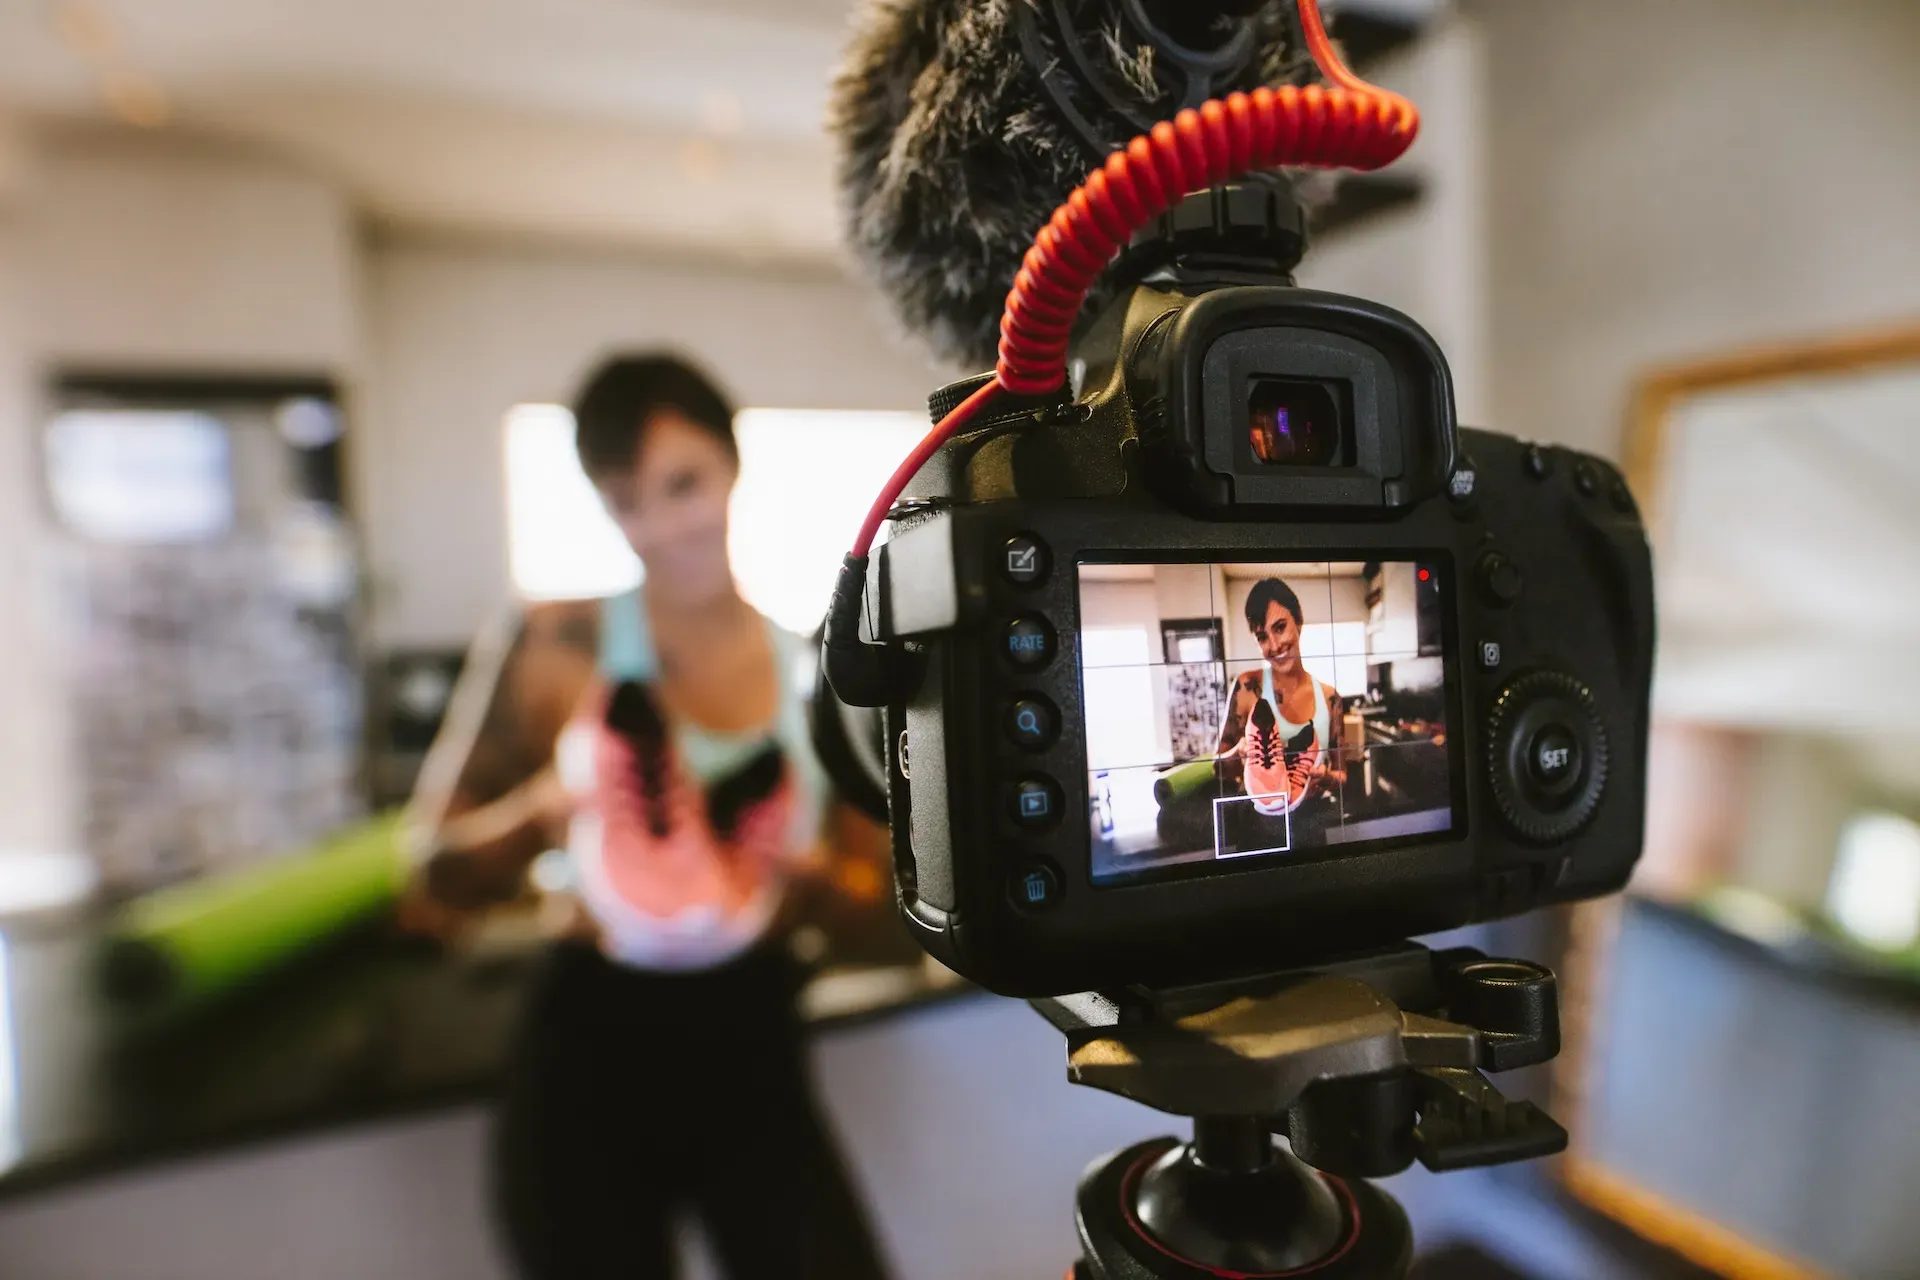
Modern unboxing videos are rarely one single, unbroken take — they’re treasure troves of exciting shots and cuts, giving the act of opening a box a sense of dynamism. One of the more popular cuts is the trusty jump cut, which slices up long actions and gets to the point quicker.
You could also try speeding your video up in certain sections. If you’re unwrapping something that takes forever, a sped-up version could even create nuggets of comedy.
17. Experiment with cutaways
Cutaway shots move away from the primary shot and add extra information. They’re often used in online content, even if it’s just a flashing image of something you mention off the cuff.
They’re handy for sprinkling extra information throughout your unboxing video, and can tie the whole thing into your brand identity. Are you a dog food manufacturer? If so, it makes sense to use cutaway shots of the office dog, helplessly drooling as you unbox this month’s hot new flavor.
18. What can you delete?
Be brutal. Not every single second of footage is essential, and if jump cuts still don’t fix the pace, ask yourself if you even need a certain section.
You might not need the shots of you wrestling with the packing tape, or the ten-minute monologue the influencer decided to freestyle at the beginning. Treat an unboxing video as you would any other piece of content: it’s entertainment, and editing can make it tighter.
19. Add subtitles
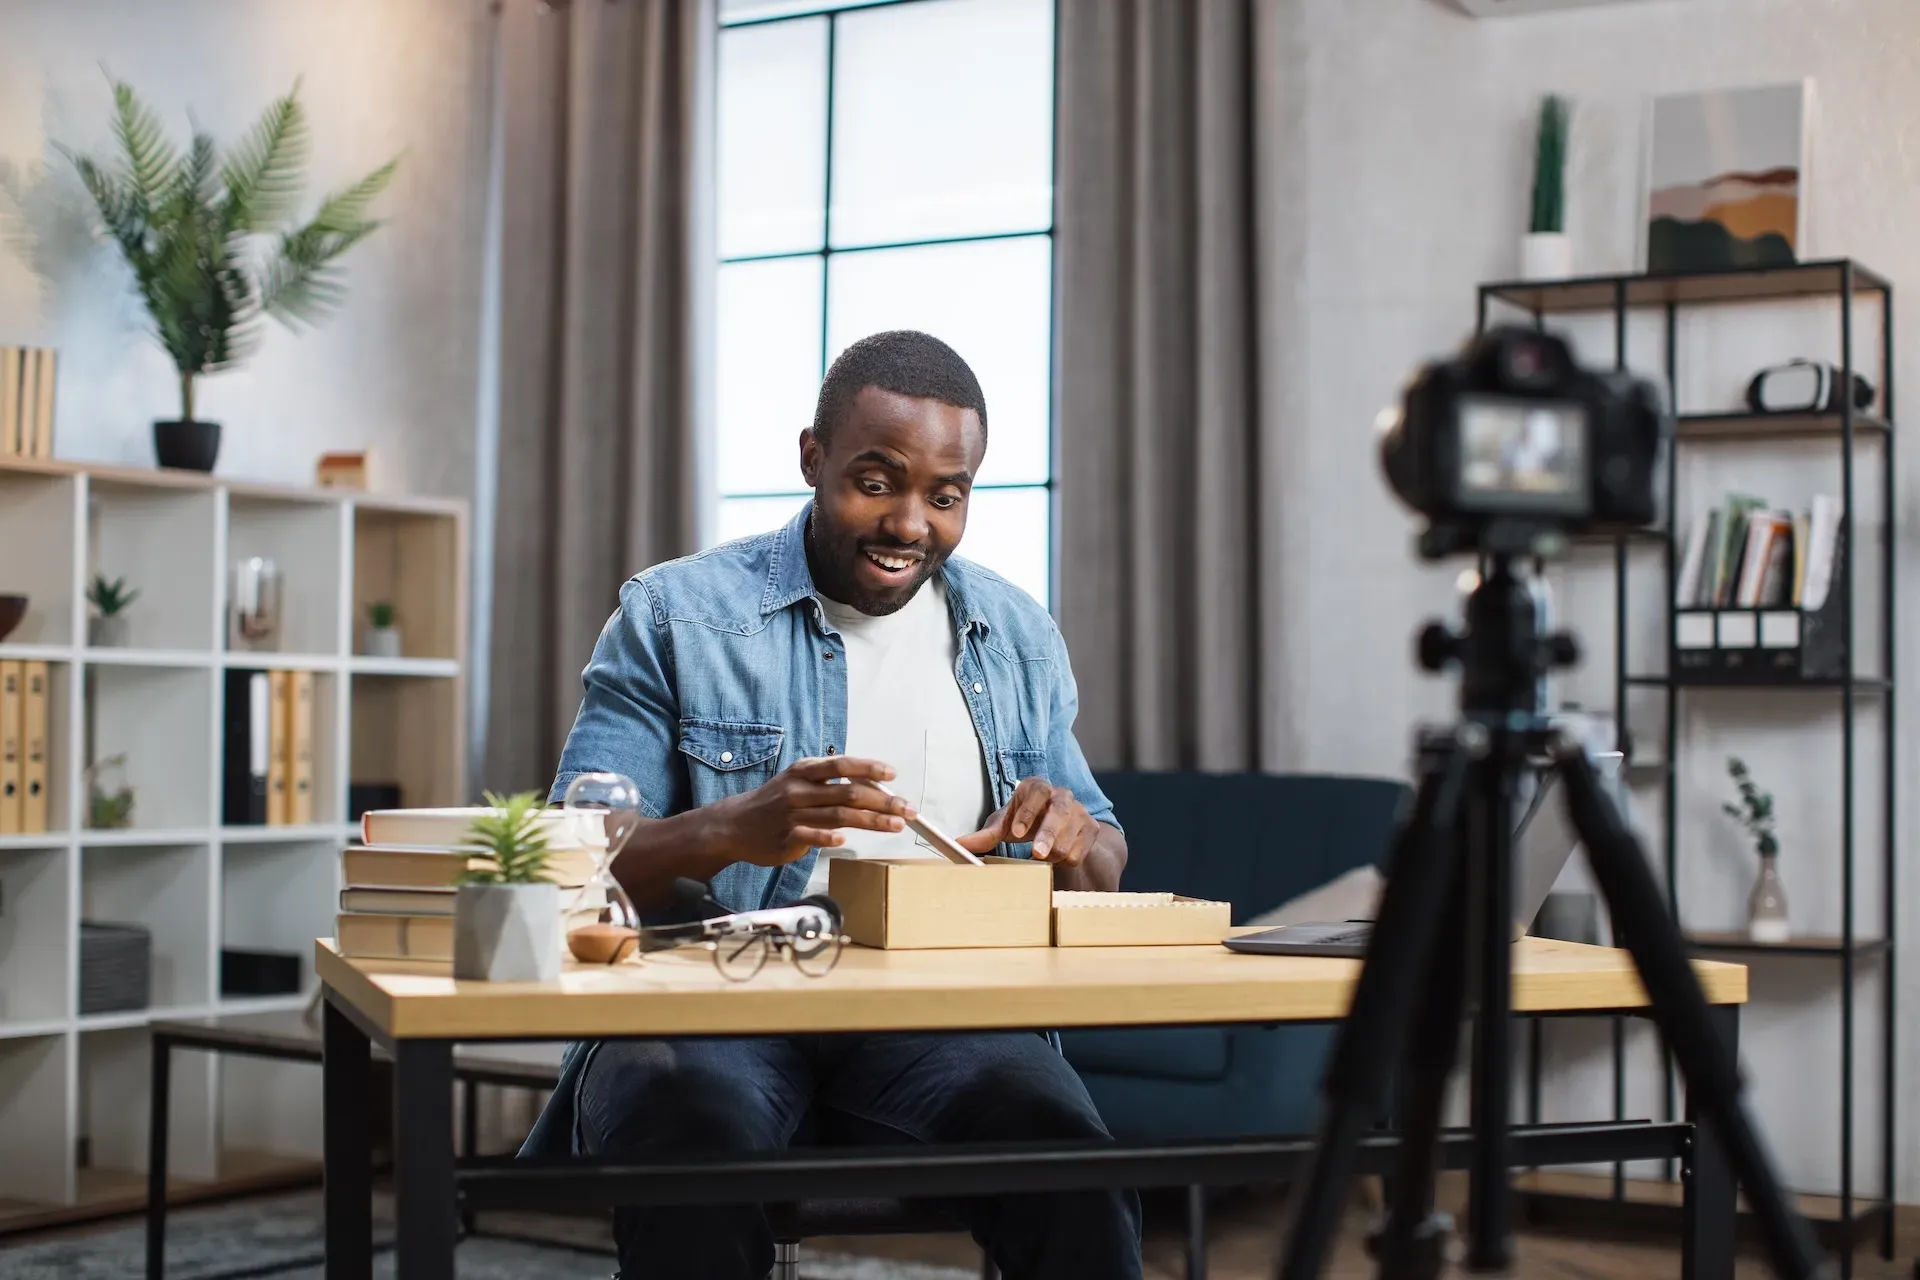
92% of people scroll through videos with the sound off — you’re probably included, and so are we. Mobile content is so hard to get right, yet so easy to swipe away.
So, don’t give people the chance to get bored. Add subtitles — heck, go all-in with title cards and lower thirds — to hook them and keep them engaged, even if they’re watching on silent mode.
20. End on a hero shot
You’ve shown off the packaging, you’ve waxed lyrical about the functionality — go the whole hog and wrap up your edit with a hero shot. Frame that product in all its box-fresh glory!
So, now that you’ve learned the top 20 tips for creating a great unboxing video, it’s time to get out there and experiment.
One thing you can’t afford to take chances on is the music — after all, the soundtrack can make or break your content. On top of that, using music without the correct permissions and licenses could land you and your brand in hot water. So, let us take care of it.
Our catalog is high-quality, affordable, and safe. An Epidemic Sound subscription goes beyond royalty-free music, removing the headache of licensing and freeing you up to do what you do best. You can enjoy the safety of our license hand-in-hand with our massive catalog of 50,000 tracks, covering just about every genre you can think of. You’ll also gain unlimited access to our advanced search functions — finding the right sound’s never been easier.
It’s better than royalty-free. It’s worry-free. Get started with Epidemic Sound below.

Related posts:

